A well-organized garage isn’t just about aesthetics—it’s about efficiency, safety, and maximizing every square inch of space. But here’s the truth most homeowners discover too late: professional garage storage systems can cost thousands of dollars.
The good news? You don’t need a luxury budget to create a garage that looks like it was designed by a pro.
As someone who has spent years building and optimizing garage storage systems, I can confidently say that smart DIY solutions can outperform expensive setups—if you approach them correctly.
This guide walks you through 30 DIY garage storage ideas on a budget that are not only functional but also look clean, polished, and professionally finished.
Why DIY Garage Storage Is Worth It
Before diving in, let’s break down why DIY is the best route:
1. Custom Fit for Your Space
Every garage is different. DIY lets you design around your exact layout.
2. Massive Cost Savings
Professional systems: $2,000–$10,000+
DIY solutions: $100–$500
3. Better Functionality
You build based on how you use your tools—not generic designs.
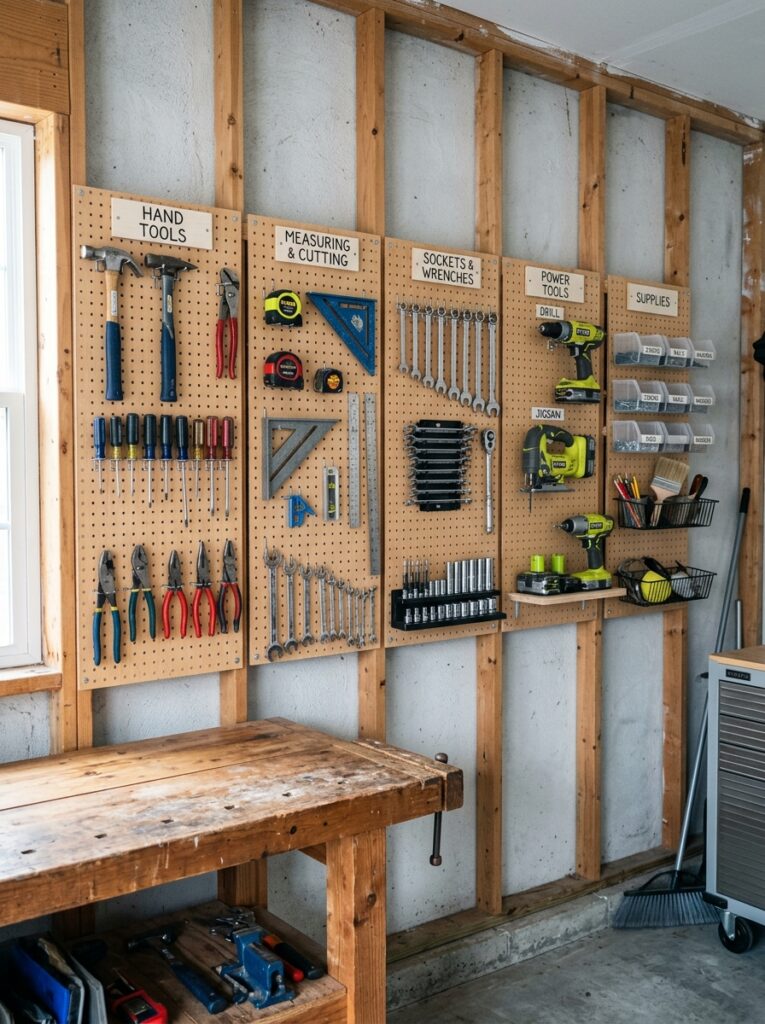
1. Wall-to-Wall Pegboard System
A pegboard is one of the most versatile storage solutions.
DIY Upgrade Tips:
- Frame it with wood for a finished look
- Paint it matte black or white
- Use uniform hooks for consistency
Result: Looks like a professional tool wall.
2. Floating Lumber Rack
Use 2x4s and metal brackets to build a horizontal rack for wood storage.
Pro Insight:
Angle the supports slightly upward to prevent boards from sliding off.
3. Overhead Storage Platform
Install a ceiling-mounted platform using:
- 2×4 framing
- Plywood base
Perfect for seasonal items like holiday decorations.
4. Rolling Workbench with Storage
Build a workbench on locking casters.
Include:
- Bottom shelves
- Tool drawers
Why it’s powerful: Mobility + storage in one unit.
5. French Cleat Wall System
This is one of the most professional-looking DIY systems.
How it works:
- Install angled wooden cleats on the wall
- Attach matching cleats to tool holders
Benefit: Completely modular and adjustable.
6. PVC Tool Organizer
Cut PVC pipes and mount them to hold:
- Drills
- Screwdrivers
- Caulking guns
Clean and highly functional.
7. Slatwall Alternative Using MDF
Instead of expensive slatwall panels:
- Cut grooves into MDF boards
- Paint and mount them
Gives a sleek, modern garage look.
8. DIY Sports Equipment Rack
Build a rack using wood framing and bungee cords.
Great for:
- Balls
- Helmets
- Sports gear
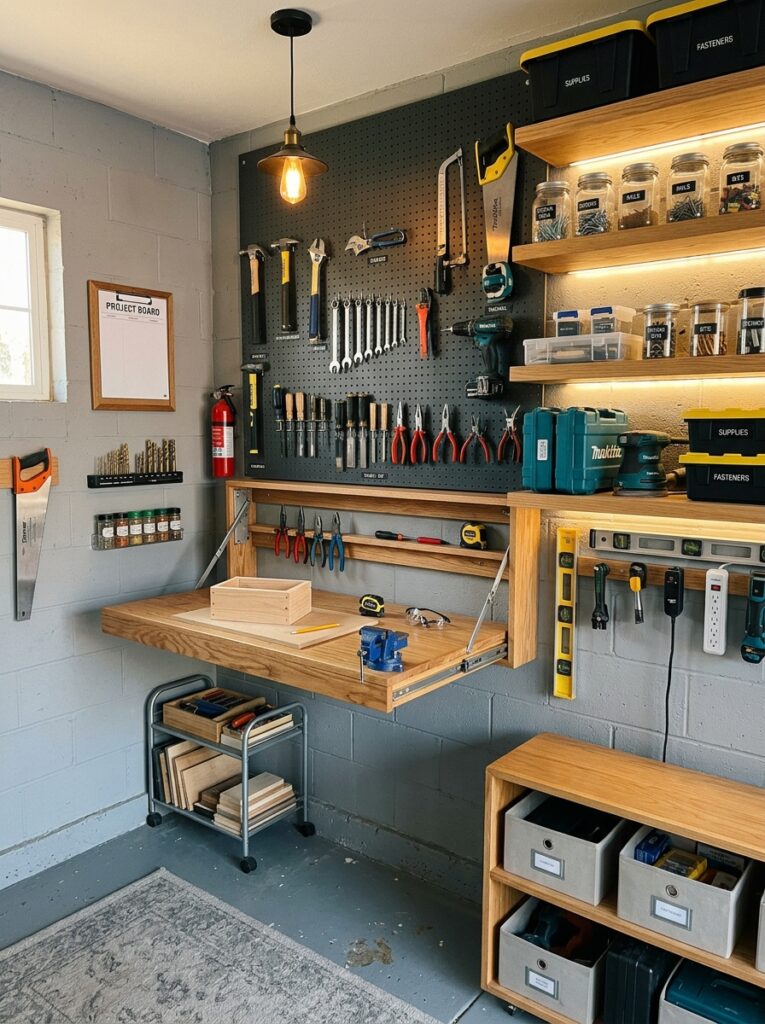
9. Fold-Down Work Table
Mount a hinged table to the wall.
Perfect for:
- Small garages
- Multi-use spaces
10. Cord and Hose Organizer
Use large hooks or wooden pegs.
Wrap cords neatly to avoid tangles.
11. Tool Drawer Cabinet (DIY Version)
Repurpose old cabinets or build simple drawer units.
Add:
- Drawer liners
- Labels
12. Paint Storage Shelf
Build shallow shelves to store paint cans in a single row.
Pro Tip:
Avoid stacking—visibility saves time.
13. Magnetic Tool Strip Wall
Install multiple magnetic strips for metal tools.
Creates a clean, professional display.
14. Bike Wall Mount System
Use wall hooks or build a rail system.
Store bikes vertically to save floor space.
15. Ladder Ceiling Storage
Install ceiling hooks or rails for ladders.
Keeps bulky items out of the way.
16. DIY Charging Station
Create a dedicated charging zone with:
- Power strip
- Mounted shelf
Organize batteries and chargers neatly.
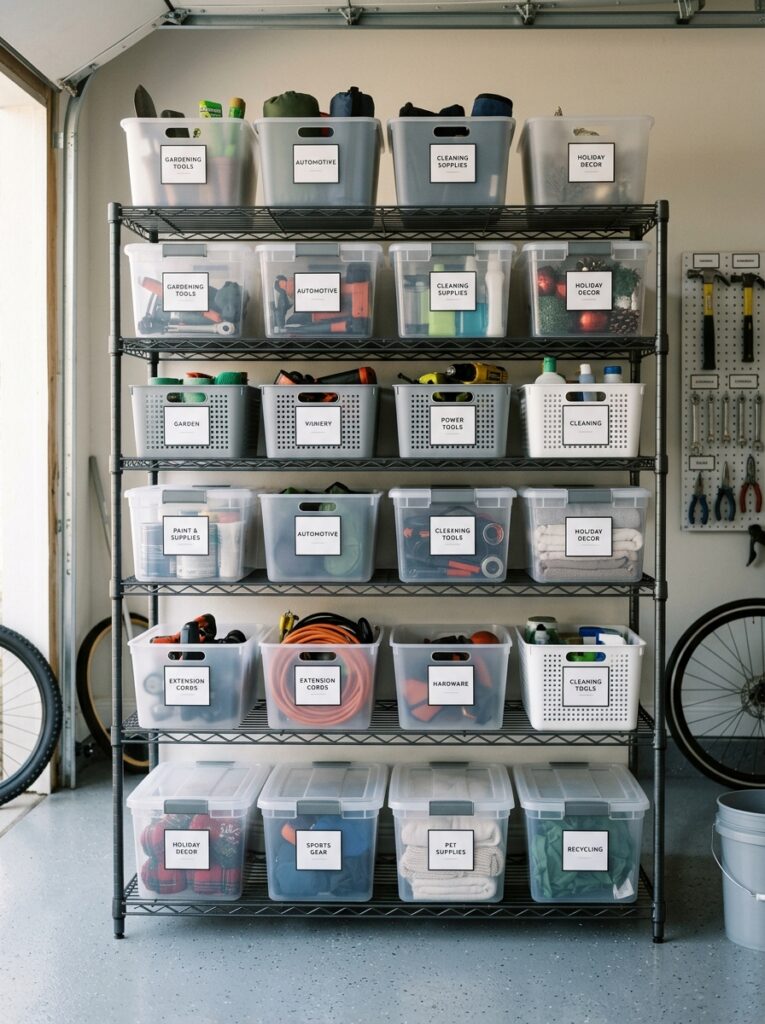
17. Clear Bin Storage Wall
Use identical clear bins on shelves.
Key tip:
Uniformity = professional look.
18. Sandpaper & Small Item Organizer
Use file holders or small drawers.
Sort by grit or type.
19. Garden Tool Rack
Build a wall rack with slots for:
- Shovels
- Rakes
- Brooms
20. Corner Shelving Unit
Corners are often wasted space.
Install triangular shelves to maximize them.
21. Screw & Hardware Storage Board
Mount small containers or jars to a board.
Label everything clearly.
22. Air Compressor Shelf
Build a sturdy shelf for heavy tools.
Keep it off the floor for safety.
23. Folding Sawhorse Storage
Mount hooks to hang sawhorses flat against the wall.
24. Work Zone Lighting Upgrade
Install bright LED lighting over your workspace.
Good lighting instantly elevates your garage.
25. Rolling Storage Bins
Add wheels to storage bins for mobility.
Great for seasonal or rarely used items.
26. Peg Rail System
Install a wooden rail with evenly spaced pegs.
Minimalist and stylish.
27. Tool Shadow Board
Trace tool outlines on a board.
Why it works:
- Easy to maintain organization
- Looks highly professional
28. Overhead Bin Storage
Slide bins into ceiling-mounted rails.
Perfect for maximizing unused space.
29. DIY Cabinet Makeover
Upgrade old cabinets with:
- Paint
- New handles
- Labels
Looks brand new for cheap.
30. Zoned Garage Layout System
Divide your garage into zones:
- Tools
- Automotive
- Gardening
- Storage
This is what truly makes a garage feel “professional.”
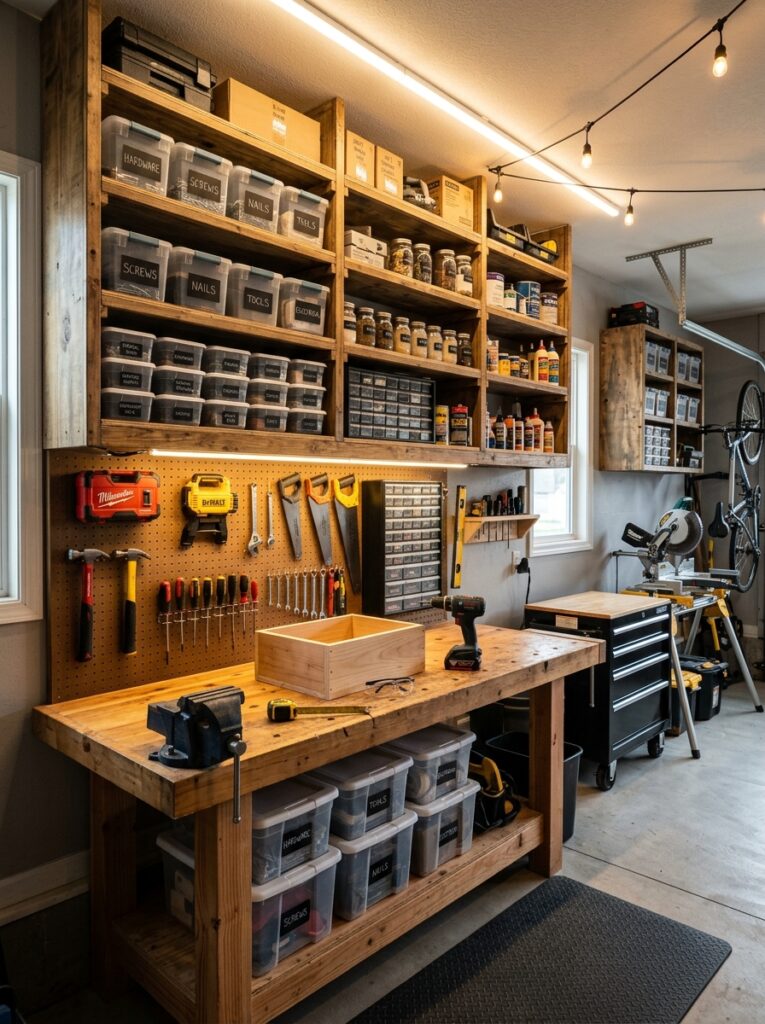
How to Make DIY Storage Look Professional
This is where most DIY projects fall short. Here’s how to get that high-end finish:
1. Consistency Is Everything
Use matching bins, labels, and colors.
2. Stick to a Color Palette
Popular choices:
- Black + wood
- White + gray
- Industrial metal tones
3. Clean Lines and Symmetry
Align shelves and racks evenly.
4. Hide Clutter
Use closed storage for messy items.
5. Label Like a Pro
Printed labels instantly elevate your setup.
Tools You’ll Need
Most of these projects require basic tools:
- Drill
- Circular saw
- Level
- Measuring tape
- Stud finder
Optional but helpful:
- Miter saw
- Brad nailer
Budget Breakdown
Here’s a realistic DIY cost estimate:
| Category | Cost Range |
|---|---|
| Lumber & materials | $100–$250 |
| Hardware | $50–$100 |
| Paint & finishing | $30–$80 |
| Lighting | $20–$60 |
Total: $200–$500 for a full transformation.
Common DIY Mistakes to Avoid
1. Not Using Wall Studs
Always anchor heavy items properly.
2. Overbuilding
Keep designs simple and functional.
3. Poor Layout Planning
Sketch your garage before building.
4. Ignoring Workflow
Place tools where you actually use them.
5. Skipping Finishing Touches
Paint and labels make a huge difference.
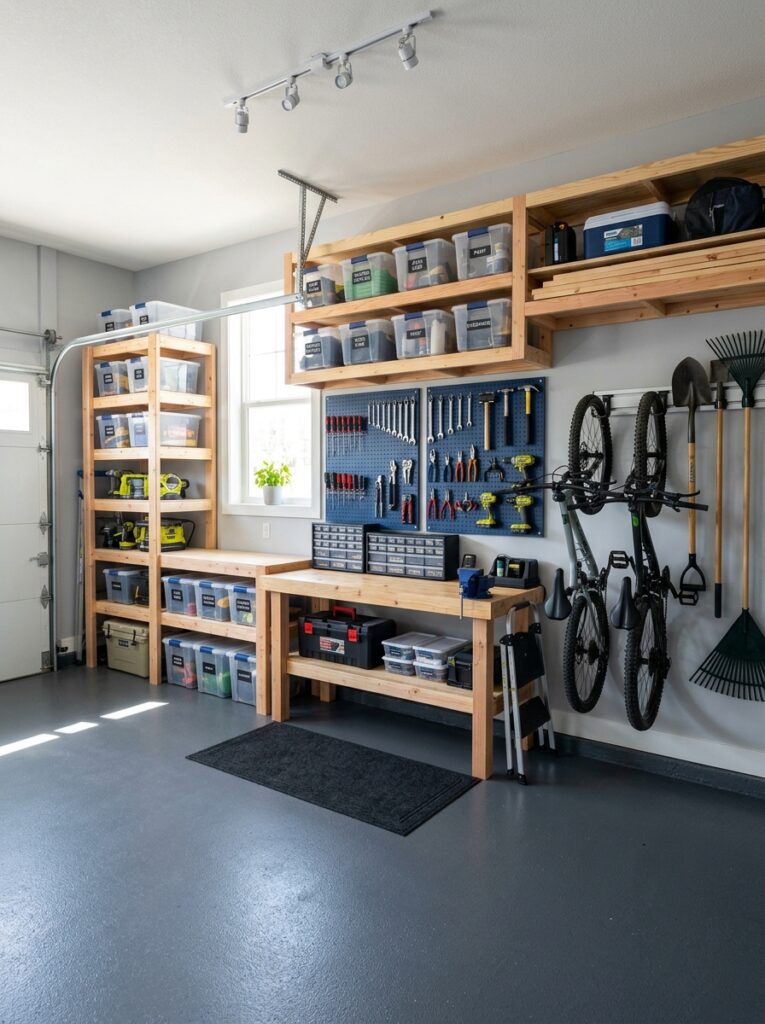
Pro-Level Garage Layout Strategy
If you want your garage to feel truly professional, follow this layout:
Left Wall: Tool Storage
Pegboards, cleats, and hand tools
Back Wall: Workbench Area
Workbench + lighting + power tools
Right Wall: Bulk Storage
Shelves, bins, seasonal items
Ceiling: Overhead Storage
Rarely used items
Final Thoughts
Creating a professional-looking garage doesn’t require a contractor—it requires smart planning and intentional design.
The difference between a cluttered garage and a polished workspace isn’t money—it’s execution.
Start with:
- A pegboard or cleat wall
- A simple shelving system
- A defined work zone
From there, build gradually.
Expert Insight (From Real Garage Builds)
The most impressive garages I’ve worked on weren’t the most expensive—they were the most organized.
If you focus on:
- Accessibility
- Visibility
- Consistency
…you’ll create a garage that not only looks professional but works like one.