Garage doors are an essential part of any home, providing security, insulation, and curb appeal. However, even the best garage doors can develop side gaps over time. These small openings between the garage door and the frame may seem insignificant, but they can lead to a variety of problems. From energy loss and increased utility bills to pest infestations and security risks, unsealed garage door gaps can impact your home in many ways.
In this guide, we will walk you through everything you need to know about sealing garage door side gaps. We will cover the benefits of sealing, the materials needed, and step-by-step instructions to ensure a tight and durable seal. Whether you’re a seasoned DIYer or considering professional help, this guide will equip you with the knowledge to get the job done right.
Why Sealing Garage Door Side Gaps is Important
1. Energy Efficiency and Cost Savings
One of the biggest reasons to seal your garage door gaps is to improve energy efficiency. Gaps around the door allow air to flow in and out freely, making it harder to regulate the temperature inside your garage. This is especially problematic if your garage is attached to your home. Unsealed gaps can cause your heating and cooling systems to work harder, increasing your energy bills. A well-sealed garage door helps maintain a stable indoor temperature, reducing energy costs year-round.
2. Protection Against Pests and Debris
Small gaps may seem harmless, but they are large enough for pests such as rodents, insects, and spiders to squeeze through. Once inside, these unwelcome guests can cause damage, leave droppings, and even create nests. Additionally, gaps allow dirt, dust, and debris to enter your garage, making it harder to keep clean. Sealing the gaps ensures that your garage remains pest-free and protected from outdoor elements.
3. Enhanced Security
Burglars often look for weak entry points to gain access to a home. If your garage door has noticeable side gaps, it becomes an easy target for intruders. Properly sealing these openings makes it more difficult for someone to tamper with or pry open your garage door. This added layer of security can help keep your belongings and family safe.
4. Preventing Water Damage
Rainwater and melting snow can seep through unsealed gaps, leading to moisture buildup inside your garage. Over time, this moisture can cause mold, mildew, and even structural damage to your garage’s foundation and walls. By sealing the gaps, you prevent water from entering and keep your garage dry.

Step-by-Step Guide to Sealing Garage Door Side Gaps
Step 1: Inspect the Garage Door
Start by thoroughly inspecting your garage door. Look for visible gaps, cracks, or worn-out weather stripping along the sides. Pay attention to areas where the door meets the frame, as these are the most common trouble spots. If your garage door has been in place for a while, check for any signs of warping or misalignment that could be contributing to the gaps.
Step 2: Gather the Necessary Materials
To properly seal your garage door, you’ll need the right materials. Here are some common options:
- Weather Stripping: Ideal for small to medium-sized gaps, weather stripping is easy to install and provides a tight seal.
- Caulk: Best for sealing cracks and filling in gaps along the edges of the door frame. Choose a high-quality exterior-grade caulk for durability.
- Foam Insulation Tape: This is a great solution for irregular gaps, as the foam expands to fill the space.
- Threshold Seal: If your garage door has gaps at the bottom as well, consider installing a threshold seal for added protection.
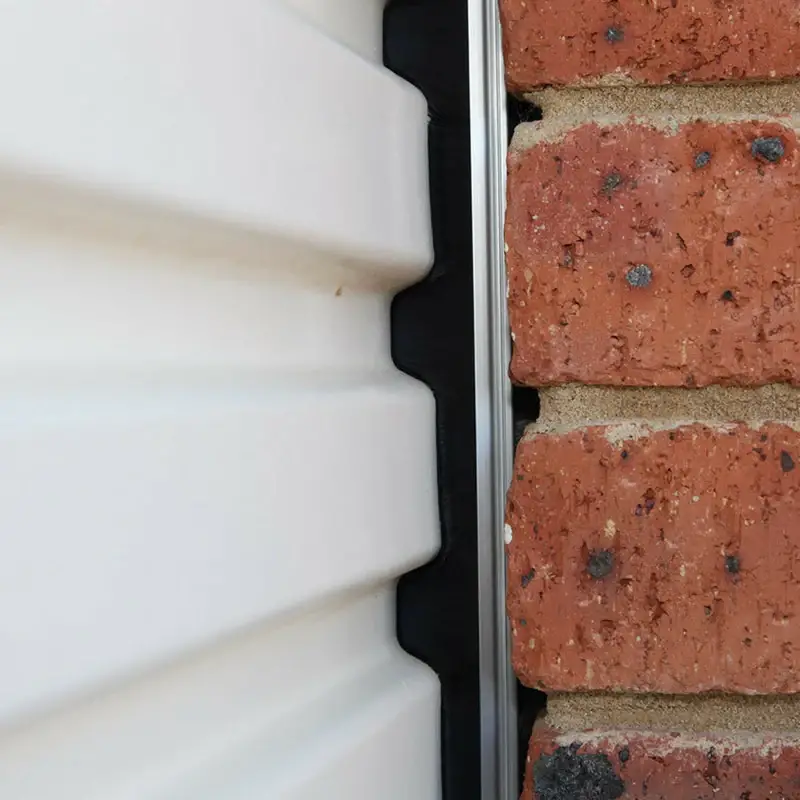
- Garage Door Side Seals: Specially designed rubber or vinyl seals that attach to the sides of the door frame to block out air, pests, and moisture.
Step 3: Clean the Surface
Before applying any sealing material, clean the area around the gaps thoroughly. Use a damp cloth or sponge to remove dirt, dust, and debris. A clean surface ensures better adhesion for weather stripping, caulk, or insulation tape.
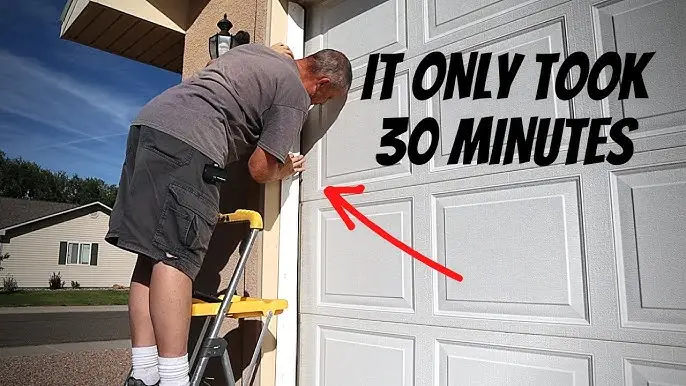
Step 4: Apply Weather Stripping
If the gaps are small, weather stripping is an excellent solution. Follow these steps:
- Cut the weather stripping to the appropriate length.
- Peel off the adhesive backing and press the stripping firmly against the door frame.
- Ensure there are no gaps or loose areas by pressing down along the entire strip.
Step 5: Seal Larger Gaps with Caulk
For larger gaps, caulk is a more effective option. Here’s how to apply it properly:
- Load a caulk gun with exterior-grade sealant.
- Apply a continuous bead of caulk along the edges of the gaps.
- Smooth the caulk using a putty knife or your finger to ensure even coverage.
- Allow the caulk to dry completely before testing the seal.
Step 6: Use Foam Insulation Tape for Irregular Gaps
If the gaps are uneven or vary in size, foam insulation tape is a flexible option:
- Cut the foam tape to match the length of the gap.
- Press the tape into the gap, allowing it to expand and create a tight seal.
Step 7: Test the Seal
After applying the sealing materials, close your garage door and check for any drafts. Run your hand along the edges to feel for air leaks. If you notice any, reapply the necessary materials to ensure a complete seal.
Step 8: Regular Maintenance
Sealing garage door gaps is not a one-time fix. Over time, weather stripping, caulk, and other materials may wear out. Regularly inspect your garage door and reseal as needed to maintain protection.
When to Consider Professional Help
While sealing garage door gaps is a manageable DIY project for many homeowners, there are situations where professional help is recommended:
- If the gaps are caused by a misaligned or damaged garage door.
- If the sealing materials you apply do not hold up or fix the issue.
- If you prefer a professional installation for long-lasting results.
Garage door technicians have the experience, tools, and materials needed to provide a thorough and durable seal, ensuring maximum efficiency and security.
Final Thoughts: Keep Your Garage Well-Sealed and Secure
Sealing garage door side gaps is a simple yet essential home improvement task that offers numerous benefits. From improved energy efficiency to increased security, taking the time to seal these gaps properly can make a significant difference. By following this guide, you can confidently tackle the project yourself or make an informed decision about hiring a professional.
Regular maintenance and periodic inspections will ensure your garage door remains in top condition for years to come. So, don’t wait—seal those gaps today and enjoy a more secure, energy-efficient, and comfortable garage space!