Transforming IKEA Furniture with a Custom IKEA Hack in My Farmhouse Loft
I’m thrilled to share my latest DIY project, an IKEA hack that has completely transformed my farmhouse loft. In this article, I’ll walk you through the process of creating a unique storage unit using IKEA furniture and some clever DIY techniques.
The Original Setup
Initially, I had two bookcases and an IKEA Expedit unit in my loft, but I wasn’t satisfied with the way they looked together. The bookcases were laminate, and I had painted them white when we moved to Utah. However, the white paint had yellowed over time, giving them an ugly, yellowish cream color.
The Problem
The setup was unappealing, and I was determined to find a solution. I started by moving the furniture around, taking one bookcase downstairs to the laundry room and leaving the other upstairs. I tried placing the remaining bookcase against different walls, but nothing seemed to work.
The IKEA Hack Solution
That’s when I decided to take matters into my own hands and IKEA hack my own long storage unit. Here’s a list of supplies I used for this project:
- 1 Tall bookcase to cut in half or 2 short bookcases about 30″ high
- IKEA Expedit, Kallax or similar cube storage about 30″ high
- Circular Saw
- Nail Gun
- 1×2 select wood for face frame
- Zinsser Shellac Based Primer
- Benjamin Moore Kendall Charcoal Gray
- Drywall Screws
- 2x4s for the base
- 2 Spax self-driving wood screws
- Kreg Jig
- 1 1/4″ Pocket Screws
- Minwax Weathered Oak Stain
- Minwax Polyurethane
The Process of Building My IKEA Hack
The first step was to cut the tall bookcase in half using a circular saw. I must admit, it was a spontaneous decision, and I didn’t take many pictures of the process. I ended up with two pieces: one with a top, middle fixed shelf, and bottom, and the other with a top and no bottom. I flipped the second piece over and attached a shelf to create the other bottom.
Assembling the Units
The two bookcase halves were now the same height as the IKEA Expedit unit. I placed them on either side of the Expedit, and although it looked okay, I knew I needed to do more. I took some 1×2 pieces of wood and created a face frame for the bookcase cabinets. If I were to do it again, I would use a Kreg Jig to make the frame first and then attach it to the cabinet carcasses.
Painting IKEA Furniture
Next, I primed the units using a shellac-based primer, which is the only type of primer suitable for laminate furniture, especially IKEA pieces. After priming, I painted the units with Benjamin Moore Kendall Charcoal Gray.
Making it Look Built-In
To give the unit a built-in look, I built a simple base using 2x4s and attached it to the wall using Spax self-driving screws. I then placed the cabinets on top of the base and leveled them out using shims. I attached the cabinets to the Expedit unit using drywall screws and clamps.
Adding the Top
The final step was to create the top surface. I bought two 1x8s and two 1x10s, ripped the 1x10s to the right width, and assembled them using a Kreg Jig to create a butcher block effect. I trimmed the edges with a thin piece of doorjamb trim and stained it with Minwax Weathered Oak wood stain. After applying a couple of coats of poly, the unit was complete.
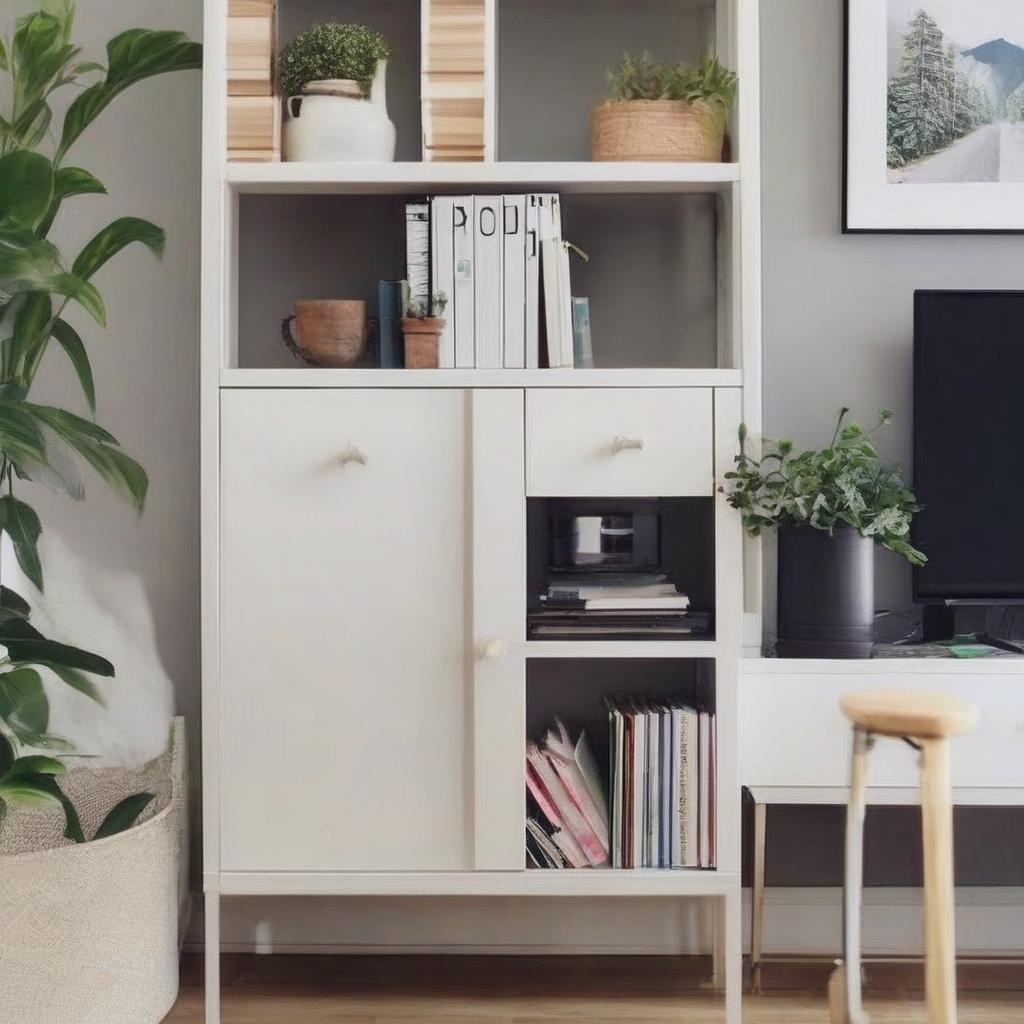
The Finished Result
While I didn’t exactly build this unit from scratch, I did assemble and transform the IKEA furniture into something entirely new. I’m thrilled with the result, and it was great to be able to use existing pieces and keep costs down. My husband even hung a TV above the unit and managed to hide the cords, making it a functional and stylish addition to our farmhouse loft.
Future Plans
Although I had originally planned to add doors to the cabinets, it’s still a project for another day. For now, the unit works great as is. If you’re interested in seeing more of my DIY projects, check out my other popular posts:
- Build a Farmhouse Table for less than $100
- Create a Shiplap Wall for less than $50
I’m excited to share more of my DIY adventures with you, and I hope this article has inspired you to try your own IKEA hack or DIY project.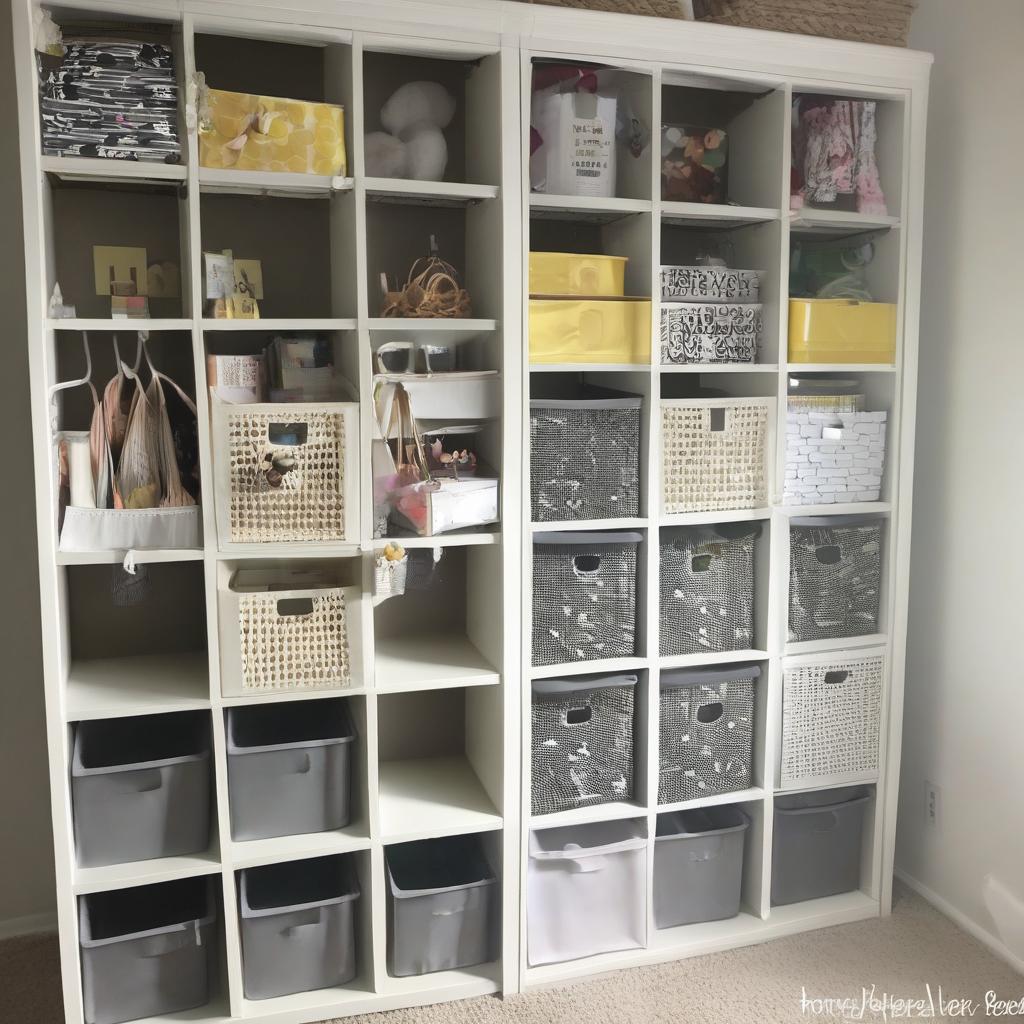
Frequently Asked Questions
What was the initial problem with the furniture setup in the farmhouse loft?
The furniture setup was unappealing, and the white paint on the laminate bookcases had yellowed over time.
What IKEA furniture pieces were used for the hack?
A tall bookcase, IKEA Expedit unit (or similar cube storage like Kallax), and other materials like 1×2 wood and 2x4s.
Why was a shellac-based primer used for the project?
It’s the only type of primer suitable for laminate furniture, especially IKEA pieces.
How was the built-in look achieved for the storage unit?
By building a simple base using 2x4s and attaching it to the wall, then placing the cabinets on top and leveling them out.
What was used to create the top surface of the storage unit?
1x8s and 1x10s were assembled using a Kreg Jig to create a butcher block effect, then stained and polyurethane was applied.
Are there plans to add doors to the cabinets?
Yes, it’s a project planned for the future.
What other DIY projects are available to read?
Other popular posts include “Build a Farmhouse Table for less than $100” and “Create a Shiplap Wall for less than $50.”