Creating a DIY Sideboard and Bench Using IKEA’s Besta
Introduction
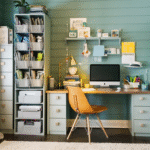
If you follow me on Instagram, you may have caught a glimpse of our new sideboard and bench in our living and dining room. The response was overwhelming, with many of you expressing interest in seeing more interior design posts like this. So, I decided to share a few more photos and the story behind this IKEA hack using their Besta cabinets.
The Before and After
Unfortunately, I don’t have a before photo of the corner where our new sideboard now resides, but I can describe it to you. After we moved, we had to break up our old shelving unit, which consisted of multiple individual pieces. The hanging cabinet containing all our glasses ended up in that corner, but I never truly warmed up to that solution. It was then that the idea to build a sideboard using Besta cabinets was born.
Measuring and Planning
After taking precise measurements, I realized that I wanted part of the sideboard to be positioned in front of the window, creating a small seating area with natural light. A few weeks later, I purchased two low cabinets and one tall one. It wasn’t until December 30th that I finally managed to buy the matching wooden plank.
Assembly and Construction
When I got home, my partner and I quickly got to work assembling everything. The cabinets were already in place and could be perfectly aligned thanks to their adjustable feet. We attached the wooden planks (the same wood I used for my birch wardrobe) to the cabinets from the inside using screws. While it sounds straightforward, it actually required a significant amount of sweat and nerves.
Securing the Cabinets and Plank
To secure the plank to the cabinets, we drilled four holes in each cabinet and screwed them together from the inside. For added stability, we also connected the individual cabinets to each other using wooden strips. Since there was a 30-centimeter gap behind the large cabinet, we extended the plank and added an extra shelf using wooden supports.
The Result
I couldn’t be happier with the result. Our new sideboard has become a true room wonder, providing ample storage and a cozy seating area by the window. One of the cabinets is even completely empty, allowing me to quickly stash away toys and other items before guests arrive. This feature has been a lifesaver, especially with children.
Why This IKEA Hack Works
So, what makes this IKEA hack so effective? The answer lies in the combination of the Besta cabinets and the wooden plank. By attaching the plank to the cabinets, you create a stable and sturdy structure that can support the weight of several people. Additionally, the cabinets provide ample storage space, making this sideboard perfect for living rooms, dining rooms, or even home offices.
Tips and Considerations
If you’re planning to replicate this IKEA hack, here are a few things to keep in mind:
* Make sure to measure your space accurately to ensure a proper fit.
* Choose the right type of wood for the plank, as it will affect the overall aesthetic and durability of the sideboard.
* Use a level to ensure the cabinets are perfectly aligned.
* Consider adding additional support to the cabinets, such as wooden strips, for extra stability.
* Don’t be afraid to get creative with the design and add your personal touch.
Conclusion
In conclusion, this IKEA hack using Besta cabinets and a wooden plank is a great way to create a functional and stylish sideboard for your home. With a little creativity and some basic construction skills, you can create a piece of furniture that meets your specific needs and adds a touch of elegance to your living space.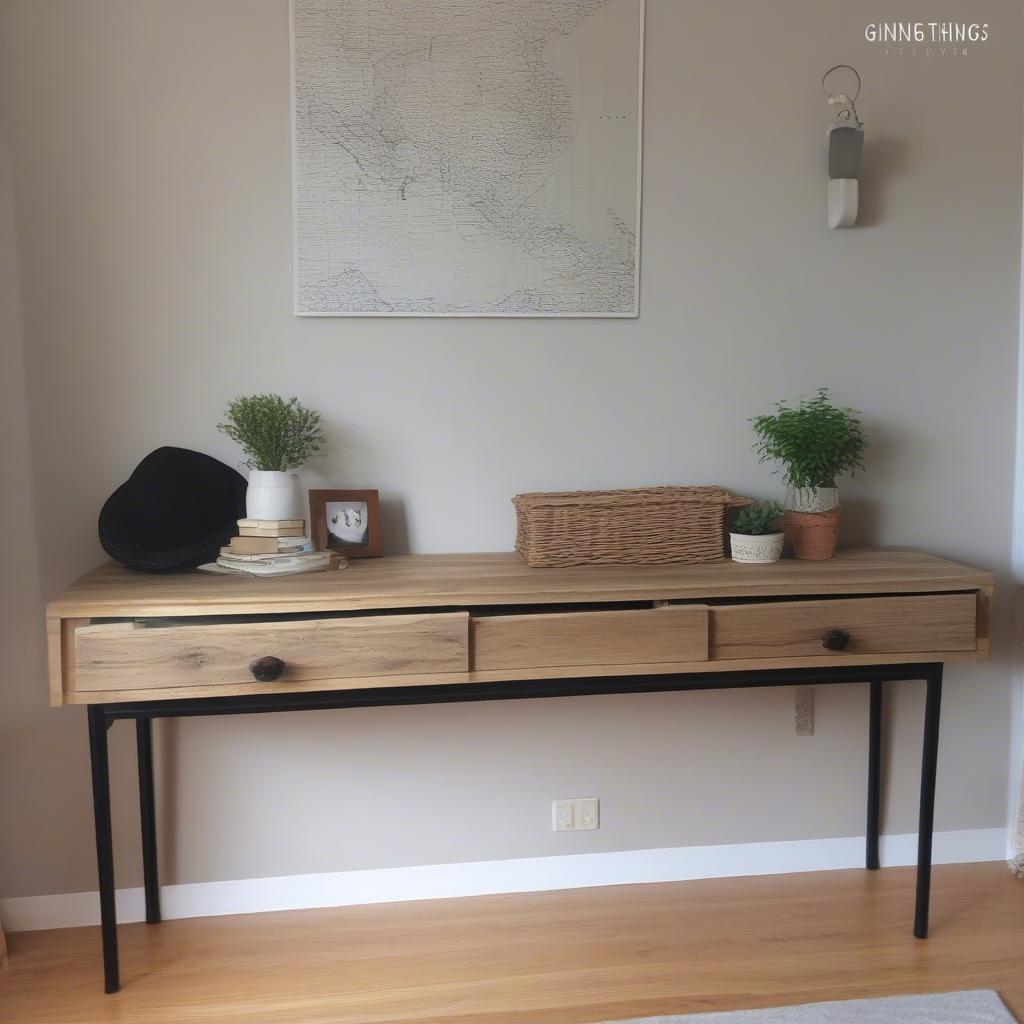 What IKEA product did you use to create the sideboard?
Besta cabinets
How did you add seating to your sideboard?
I attached a wooden plank to the cabinets to create a seating area.
What tips did you provide for others considering this DIY project?
Measure accurately, choose the right wood, use a level, add support, and get creative with design.
What inspired you to create this sideboard?
An old hanging cabinet that didn’t look right in the corner led to the idea.
How long did the project take from start to finish?
The project took several weeks, as I had to wait for the wooden plank to arrive.
What additional features did you include in your design?
A small window seating area, natural lighting, and an additional shelf in the gap behind the large cabinet.
How did you secure the wooden plank to the cabinets?
By drilling holes in each cabinet and screwing them together from the inside.
What made this IKEA hack effective?
The combination of Besta cabinets and a wooden plank created a stable, sturdy, and functional sideboard with ample storage.