My Dream DIY Craft Room Table and Sewing Station
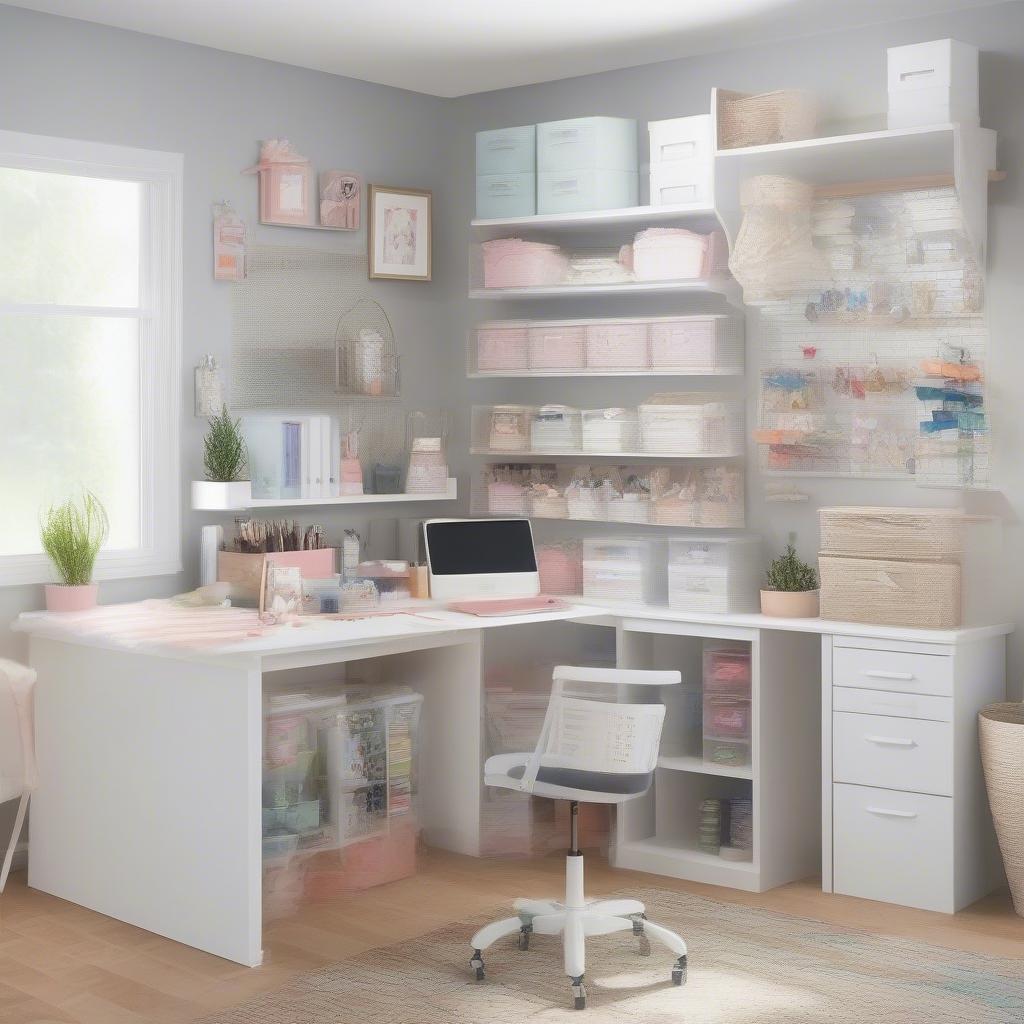
I am beyond thrilled to finally share with you my newly built DIY craft room table and sewing station. It’s a project that my husband and I worked tirelessly on, and we’re both extremely proud of how it turned out. As a crafty person, I’ve always dreamed of having a dedicated space where I can create, experiment, and teach my grandkids all about the world of DIY.
The Perfect Craft Table: A Year in the Making
For a long time, I’ve been searching for the perfect craft table that would fit my needs. I spent hours scouring Pinterest, pinning ideas, and researching different plans. I knew I wanted a table that was counter height, so I could have the option to stand or sit while working. I also needed a large surface area to accommodate my sewing and quilting projects, as well as a shelf to store my Cricut machine and other supplies.
After weeks of deliberating, I finally decided to use Ana White’s Modern Craft Table plan and tweak it to fit my space and needs. I downloaded the free plans from her website and studied them carefully. However, I quickly realized that I had limited knowledge of woodworking and the necessary tools.
Overcoming Obstacles and Learning as We Go
Despite the initial intimidation, my husband and I were determined to build the table ourselves. We started by making the shelf unit bases, which were the foundation of the entire project. We used pine boards and followed the plans as closely as possible.
As we progressed, we encountered a few obstacles, but we persevered and learned as we went. One of the biggest challenges was figuring out how to build the table top, which needed to be large enough to accommodate my sewing and quilting projects. We decided to use birch plywood, which had a smoother surface and was perfect for working with fabric.
Building the Shelf Unit Bases
The original plans called for two shelf unit bases, but I decided to make mine longer to accommodate a 48-inch wide table top. Since plywood comes in 4×8-foot sheets, we only needed to cut the length down to fit our needs.
We used pine boards to build the shelf unit bases and primed them before painting them with Sherwin-Williams Reflecting Pool, a beautiful light teal color. This color was not only aesthetically pleasing but also matched the paint color I used on my DIY project board that hangs on the wall.
On one shelf unit base, I store my Cricut machine and necessary cords and cables. This was one of my top considerations when deciding on the length of the shelves – it had to fit my Cricut machine with easy access. I also keep my laminating machine and laminating sheets nearby.
On the other shelf unit base, I store my sewing supplies, label maker, and tools for my embroidery machine. I have a few desk caddies for pens, scissors, and other odds and ends, and I love that I have the flexibility to change things around easily when I want to.
The Table Top: A Game-Changer for My Craft Room
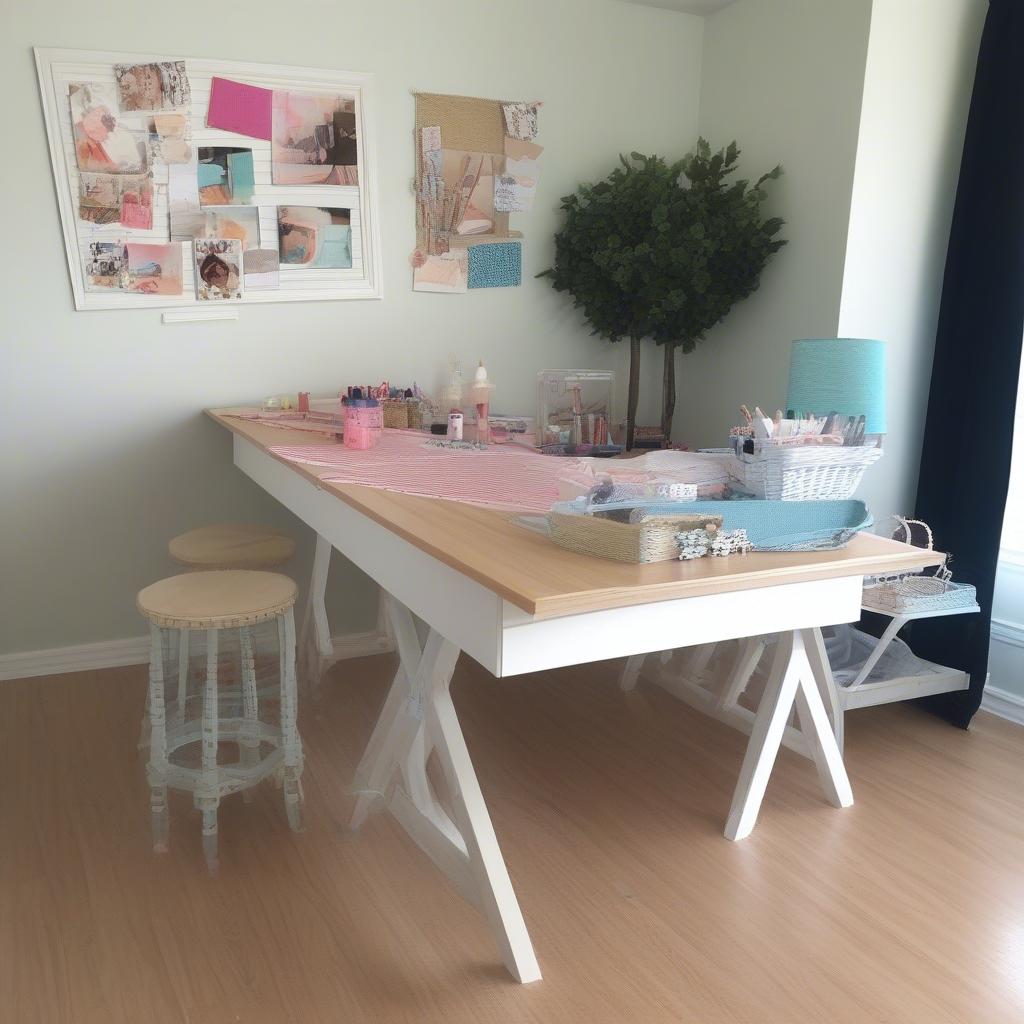
The table top measures 48×66 inches and is made from birch plywood. We opted to use this material because it had a smoother surface, which was necessary for working with fabric. Lowes cut the board for us, and we were able to get it home without too much trouble (although it was a bit of a challenge getting it up the stairs!).
We placed the table top on top of the two shelf unit bases and didn’t attach it. To our surprise, it has stayed in place perfectly, even with all the use it’s gotten. The edges of the birch plywood were rough, so I used a birch tape to cover them. This was a great solution, and it was easy to apply using an iron.
I painted the table top with white paint to keep the room bright and airy. The size is perfect for fitting my large cutting mat, and I love that I can work on multiple projects at once.
Seating for My Grandkids (and Me!)
For seating, I chose white metal counter-height stools. I love that I can tuck them underneath the table when not in use, and I purchased three so that each grandkid has a place to sit and create when they come over.
The grandkids adore working at the table, and it’s amazing how a little glue, paper, and other craft supplies can keep them entertained for hours. I have a vinyl tablecloth that I cover the table with, so I don’t worry about paint, glue, or markers damaging the surface.
Conclusion: My DIY Craft Room Table is a Dream Come True
Building my DIY craft room table and sewing station has been a labor of love. It’s a project that I’m incredibly proud of, and it’s exceeded all my expectations. If you’re looking for a craft table, I highly recommend considering building your own. It’s a rewarding experience, and with a little patience and perseverance, you can create a space that’s perfect for your creative needs.
More Photos of My DIY Craft Room Table:
- Shelf unit bases with Sherwin-Williams Reflecting Pool paint
- Cricut machine and laminating machine on one shelf unit base
- Sewing supplies and label maker on the other shelf unit base
- Birch plywood table top with white paint and birch tape edges
- White metal counter-height stools for seating
- Vinyl tablecloth for protecting the surface
- Grandkids working on a craft project at the table
A Special Thanks to Ana White:
I want to extend a huge thank you to Ana White for providing the free plans for the Modern Craft Table. Without her guidance and expertise, this project would not have been possible.
Get Inspired and Start Your Own DIY Project Today!
 What inspired you to build your own DIY craft room table and sewing station?
I wanted a dedicated space for crafting and teaching my grandkids, and after searching for a suitable plan and tweaking Ana White’s Modern Craft Table design, we decided to build it ourselves.
What were the key features you included in your design?
The table features a counter height, large surface area, a birch plywood top, and two long shelf units for storing supplies and sewing machines.
What were some of the challenges you faced while building the table?
We encountered difficulties building the table top to be large enough and smoothing the edges of the birch plywood.
How did you paint the table top and shelves?
The table top was painted with white, and the shelves were painted with Sherwin-Williams Reflecting Pool, a light teal color.
What kind of seating did you choose, and why?
We chose white metal counter-height stools that can be tucked underneath the table when not in use, providing easy seating for the grandkids and myself.
How does the table accommodate different projects?
The large table top is perfect for fitting a large cutting mat and multiple projects, and we can easily adjust supplies and materials using the storage on the shelves.
What safety measures did you take?
The birch tape was used to cover the rough edges of the birch plywood, and a vinyl tablecloth was added for protection.
What additional tips would you give to someone considering building a similar table?
Start with good plans, gather all necessary tools and materials, consider customization, and don’t be afraid to learn and troubleshoot as you go.
Why did you choose the color palette for the table?
The light teal paint on the shelves matches the DIY project board, keeping the room bright and airy with the white painted top and stools.
How does this project enhance your crafting experience?
It provides a designated, well-organized space for crafts and sewing, making it more enjoyable and accessible not only for me but also for my grandkids to learn from and enjoy together.