How to Make a DIY Garden Irrigation System: A Simple Watering System For Your Garden
Introduction
Keeping plants well-watered and thriving can be a time-consuming chore, but a DIY watering system is economical, saves on your water bill, and leaves more time for you to enjoy the hard work you’ve put into the garden. In this article, we will put together and install an irrigation system for an eight-foot by ten-foot garden using soaker hoses, a manifold, and a timer.
When to Install a Garden Irrigation System
You can install soaker hoses either before or after planting. Depending on your soil type, the hoses will deliver water to an area between one and three feet, with clay soil holding the greatest amount of moisture and sandy soil the least amount. In either case, take time to create and work from a garden layout. Remember to mark seeded rows and beds so you know where to place the hoses.
Before Getting Started
Draw a layout of your garden and determine what type of soil you have. Our project is based on average loamy garden soil, which means soaker hoses should be placed about two feet apart to cover the eight by ten-foot area efficiently. Since the hose is flexible, you will be able to curve and adjust it to reach every plant. Another advantage is that hoses can easily be moved when new plants are added or the garden layout changes. When the garden to be watered is any distance from the main water spigot, you will need garden hose. Measure this distance to make sure you have enough feet of regular garden hose to reach the planted area.
Benefits of a Drip Irrigation System
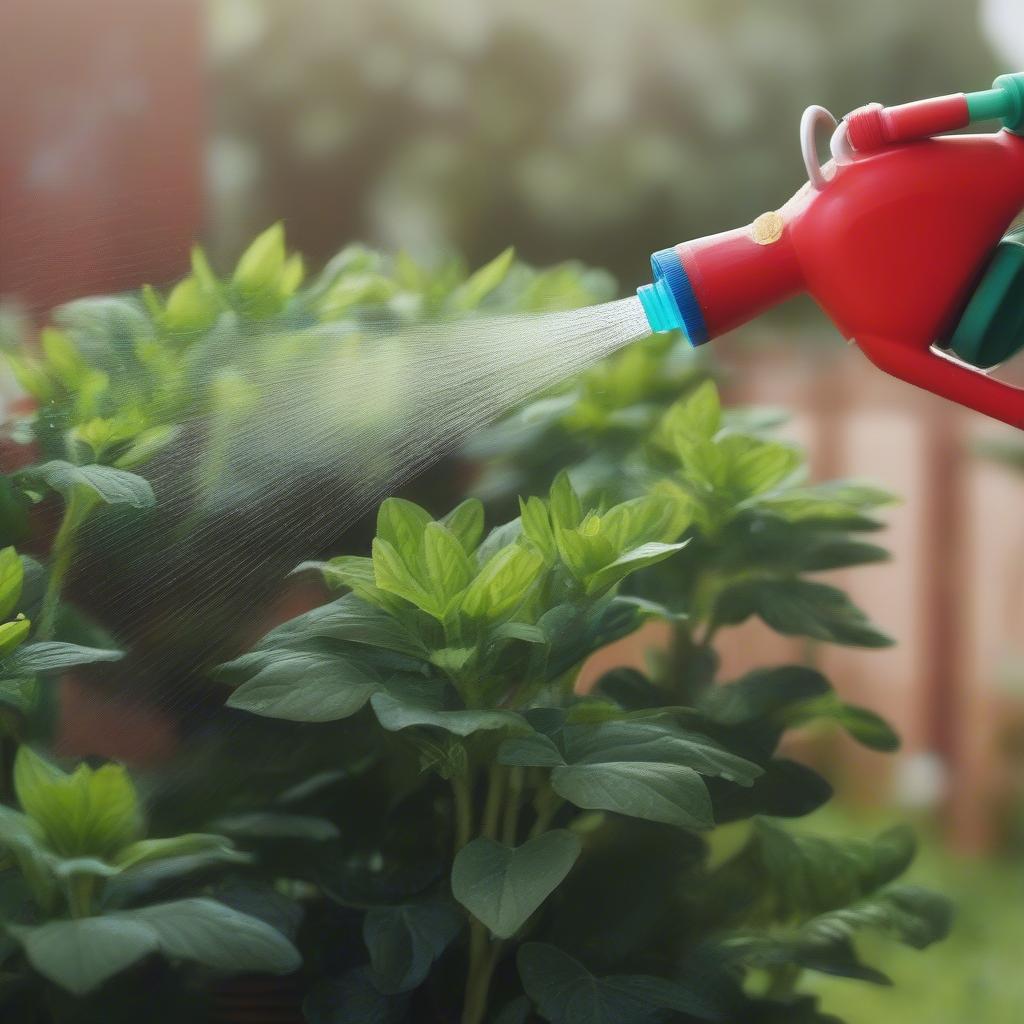
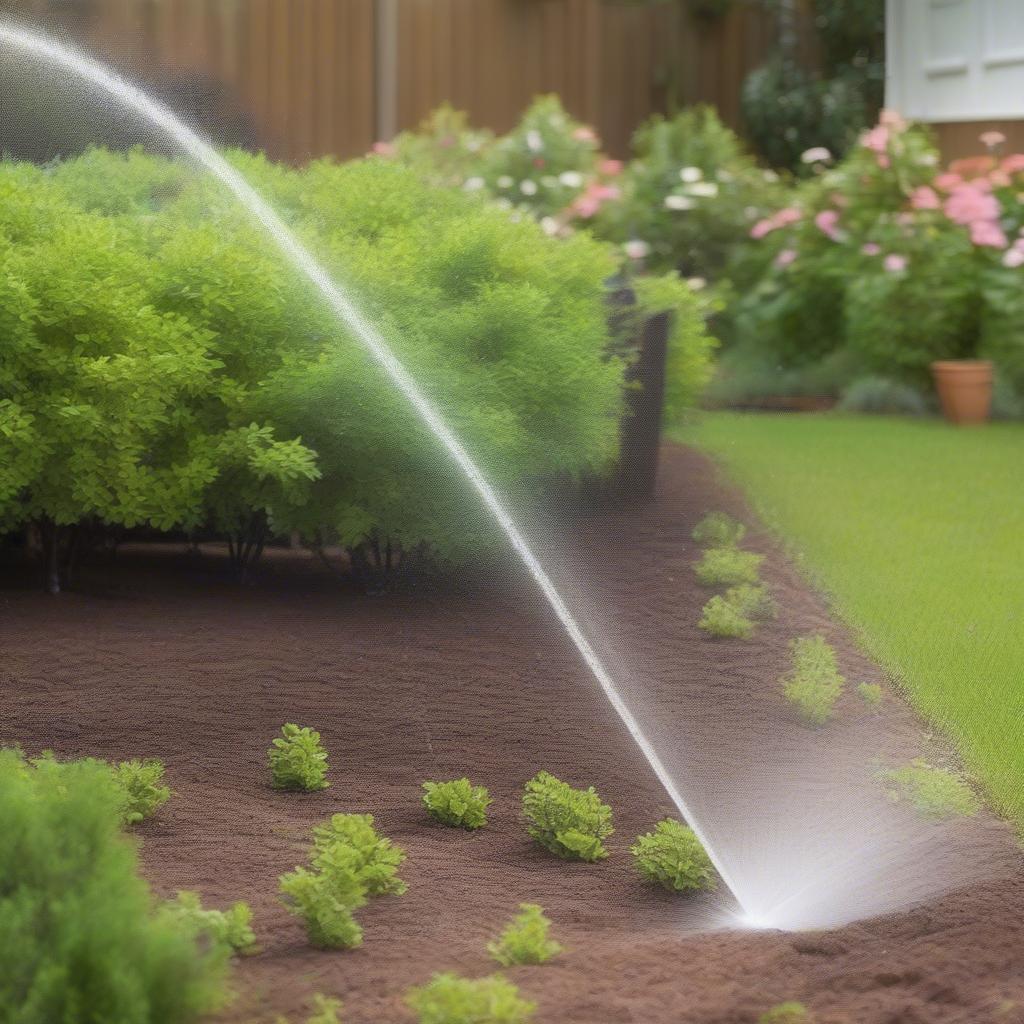
Drip irrigation delivers water to the roots, and this fuels photosynthesis and nutrient uptake. Watering at ground level also helps to prevent the spread of soil-borne diseases that can be exacerbated by overhead watering. Water is used more economically than with an overhead sprinkler system, which works better for covering large areas such as lawns. You can water any time of day. Evaporation and waste are reduced because the water is delivered directly into the soil.
Equipment and Tools Needed
- Garden hose
- Materials:
* 2 – 25-foot soaker hoses
* 1 – Hose manifold (two output)
* 1 – Hose timer
* Hose minders (optional)
* Hose washers
Instructions
Check All Hoses for Washers and Restrictors
Hose washers are small, donut-shaped rubber or plastic rings that fit inside the female side of a hose connection. These rings prevent leaks by providing a watertight seal, and all female hose connections should have one. Soaker hose restrictors are small blue disks with a pinhole in the middle. These are already installed in purchased soaker hoses located at the end of the hose to be connected to the manifold. They regulate flow and help to prevent pressure leaks from developing in the hose line. It’s a good idea to check that washers and restrictors are in place every time you hook up a disconnected hose.
Connect the Garden Hose
Beginning with garden hose, go ahead and connect it to the main water spigot. You can add the timer once the system is in place.
Add the Manifold
Connect the garden hose to the main manifold input. Attach each of the two soaker hoses to each of the two manifold outputs. The manifold connections will also have separate on/off valves allowing you to operate each hose individually or both simultaneously.
Lay Out the Soaker Hoses
Follow the pattern you’ve created for your watering layout plan and install the soaker hoses throughout the garden area. Simple bamboo or wooden stakes can be used to direct the hoses and hold them in place, and to manipulate difficult spots. You can also purchase plain or decorative hose minders.
Test the System
Turn the manifold control valves to their off positions. Turn on the garden hose at the spigot. Return to the manifold and one at a time, open each valve and walk the connected soaker hose line to check that the hose is working properly and efficiently. Make any adjustments needed and retest. When the system is delivering water satisfactorily, turn off the manifold valves and the main water spigot.
Install the Timer
Different types of hose timers are available, from those that work like a simple alarm clock to sophisticated digital units. Read manufacturers’ instructions to learn how to operate the timer you’ve chosen. Set the timer. Disconnect the garden hose from the main water spigot, install the timer, and reconnect the hose to the timer unit.
Tips
Mornings are the best time to water plants. This allows any excess surface water on the stems and leaves to dry out before nighttime temperatures drop.
Maintenance
An irrigation system using soaker hoses is easy to maintain. Once in place, the system can remain throughout the seasons, however, each hose should be disconnected from its water source and completely drained before the ground freezes. If you are irrigating a vegetable garden where the layout will change from year to year, simply remove and drain the hoses, carefully coil and secure them, and store them, with the manifold and timer, in a garden shed or garage. When cared for properly, hoses can last several years or even longer. Walk your system from time to time throughout the growing season to check for leaks or any displacement.
Working Time: 3 – 4 hrs
Total Time: 3 – 4 hrs
Skill Level: Beginner
Estimated Cost: $100.00
This tutorial is brought to you by Barbara Gillette, a Master Gardener, herbalist, beekeeper, and journalist. She has 30 years of experience propagating and growing fruits, vegetables, herbs, and ornamentals. The article has been reviewed by Kathleen Miller, a highly-regarded Master Gardener and horticulturist with over 30 years of experience in organic gardening, farming, and landscape design.
 What is the purpose of a DIY garden irrigation system?
*To keep plants well-watered and thriving, saving time and water costs.*
When can you install soaker hoses?
*You can install them before or after planting.*
What are the benefits of a drip irrigation system?
*Drip irrigation delivers water directly to the roots, preventing soil-borne diseases, using water more efficiently, and allowing watering at any time.*
What equipment is needed for this DIY irrigation system?
*A garden hose, 2 – 25-foot soaker hoses, a hose manifold (two output), a hose timer, hose minders (optional), and hose washers.*
How do you check the soaker hoses for necessary components?
*Check for hose washers and soaker hose restrictors to prevent leaks and regulate flow.*
What does the manifold do in the irrigation system?
*The manifold connects the garden hose to the soaker hoses, allowing you to operate each hose individually or simultaneously.*
How do you test the soaker hose system?
*Turn off manifold valves, turn on the garden hose, and test each soaker hose for proper water delivery.*
When should you install the timer?
*After the soaker hoses are in place, disconnect the garden hose from the main spigot, install the timer, and reconnect it.*
What maintenance is required for the soaker hose system?
*Disconnect and drain hoses before freezing, and check periodically for leaks or displacement.*
How long does this project take?
*The project takes 3 – 4 hours to complete.*
What is the skill level required to complete this project?
*Beginner skill level is required.*
What is the estimated cost for this DIY irrigation system?
*The estimated cost is $100.00.*