DIY IKEA Hack: Transforming the Expedit into a Long Storage Unit
If you’re anything like me, you love a good DIY project, especially when it involves giving new life to old furniture pieces. Today, I’m excited to share with you my latest IKEA hack, where I transformed the Expedit into a long storage unit that’s perfect for any room in your home.
The Inspiration Behind the Project
I’ve always been a fan of the IKEA Expedit, but I never quite liked the way it looked on its own. I wanted to create something that would not only provide ample storage but also add a touch of style to my Farmhouse Loft. So, I decided to take matters into my own hands and get creative.
Before the Transformation
The Expedit was originally paired with two bookcases, which I had painted white when I first moved to Utah. However, over time, the white paint had turned into an ugly yellowish cream, and I just couldn’t stand the look anymore. I decided to take one bookcase downstairs and leave the other upstairs, but I never quite found the right spot for it.
That’s when the idea struck me – why not combine the Expedit with the bookcase to create a long storage unit? I knew it wouldn’t be an easy task, but I was determined to make it work.
The Supplies Needed
Here’s a list of the supplies I used for this project:
- 1 Tall bookcase to cut in half or 2 short bookcases about 30″ high
- IKEA Expedit, Kallax or similar cube storage about 30″ high
- Circular Saw
- Nail Gun
- 1×2 select wood for face frame
- Zinsser Shellac Based Primer
- Benjamin Moore Kendall Charcoal Gray Paint
- Drywall Screws
- 2x4s for the base
- 2″ Spax self-driving wood screws
- 2 1x8s
- 2 1x10s
- Kreg Jig
- 1 1/4″ Pocket Screws
- Minwax Weathered Oak Stain
- Minwax Polyurethane
The Process of Building my IKEA Hack
The first step was to cut the bookcase in half using a circular saw. I’m not going to lie, it was a bit intimidating at first, but I soon got the hang of it. I ended up with two pieces, one with a top and a bottom, and the other with just a top. I flipped the second piece over and attached a shelf to the other side to create the other bottom.
Next, I primed the units using Zinsser Shellac Based Primer. This primer is perfect for laminate furniture, but it’s essential to wear gloves and use disposable paintbrushes due to its strong fumes.
After priming, I painted the units Benjamin Moore Kendall Charcoal Gray. I applied two coats, making sure to let the first coat dry completely before applying the second one.
Adding a Face Frame
I then added a face frame to the bookcase cabinets using 1×2 select wood. I wish I had used a Kreg Jig to make the frame first and then attach it to the cabinet carcasses, but I was a newbie at the time, and it didn’t occur to me. However, the end result still looks great, and I’ve learned from my mistakes.
Building a Base
To give the unit a more built-in look, I built a base using 2x4s. I made sure to use straight wood and create a square frame using Spax self-driving screws and clamps. I then attached the cabinets to the base using drywall screws and anchors.
Adding Baseboards
I made the baseboards out of 1/2″ MDF and cut them to 4.5″ inches wide. I initially painted them white but later decided that gray would look better. I painstakingly painted the baseboards gray, making sure not to get any paint on the carpet.
The Final Touches
The last step was to add a top to the unit. I used two 1x8s and two 1x10s, which I staggered for a butcher block effect. I used a Kreg Jig to put them together and then stained them with Minwax Weathered Oak wood stain. I sealed the top with a couple of coats of polyurethane.
I’m thrilled with the final result, and I love that I was able to use existing pieces that I had and only spent money on the paint and wood for the face frames and top. My husband even helped me by hanging a TV above the unit and fishing the cords through the drywall behind it.
If you liked this post, be sure to check out my other popular DIY posts, including “Build a Farmhouse Table for less than $100” and “Create a Shiplap Wall for less than $50”.
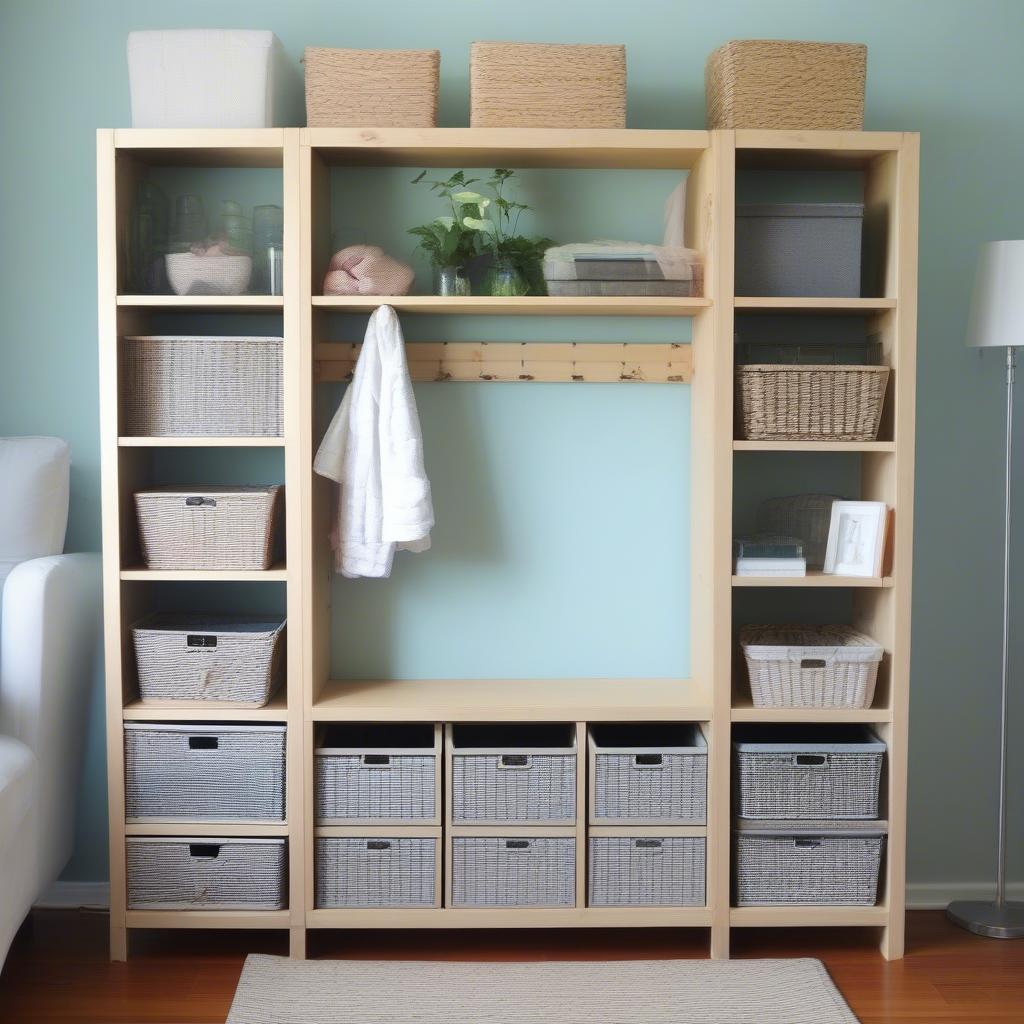 What is the Expedit by IKEA? The Expedit is a versatile storage unit by IKEA, known for its modular cube design that can be easily configured into various shapes and sizes.
What materials are needed for this DIY project? The materials include a tall bookcase, IKEA Expedit, circular saw, nail gun, 1×2 select wood, primer, paint, drywall screws, 2x4s, screws, 1x8s, 1x10s, Kreg Jig, pocket screws, stain, and polyurethane.
How long will the project take to complete? The time required will vary based on your skill level, but it can take several hours to a full day, including cutting, painting, and assembling.
Can this project be done with Kallax instead of Expedit? Yes, the Kallax, which is similar to the Expedit, can also be used for this project.
What modifications were made to the bookcase? The bookcase was cut in half and a face frame was added. One piece was used to create the top part, and the bottom part was constructed from the other piece.
What color was the final product painted? The final product was painted Benjamin Moore Kendall Charcoal Gray.
What kind of top did you choose for the unit? A butcher block style top was created using 1x8s and 1x10s, stained with Minwax Weathered Oak, and sealed with polyurethane.
How did you create a base for the long storage unit? A base was built using 2x4s and attached to the cabinets with drywall screws and anchors for a built-in look.
Did you add any additional features to the storage unit? A TV was hung above the unit, with cords routed through the drywall behind it.