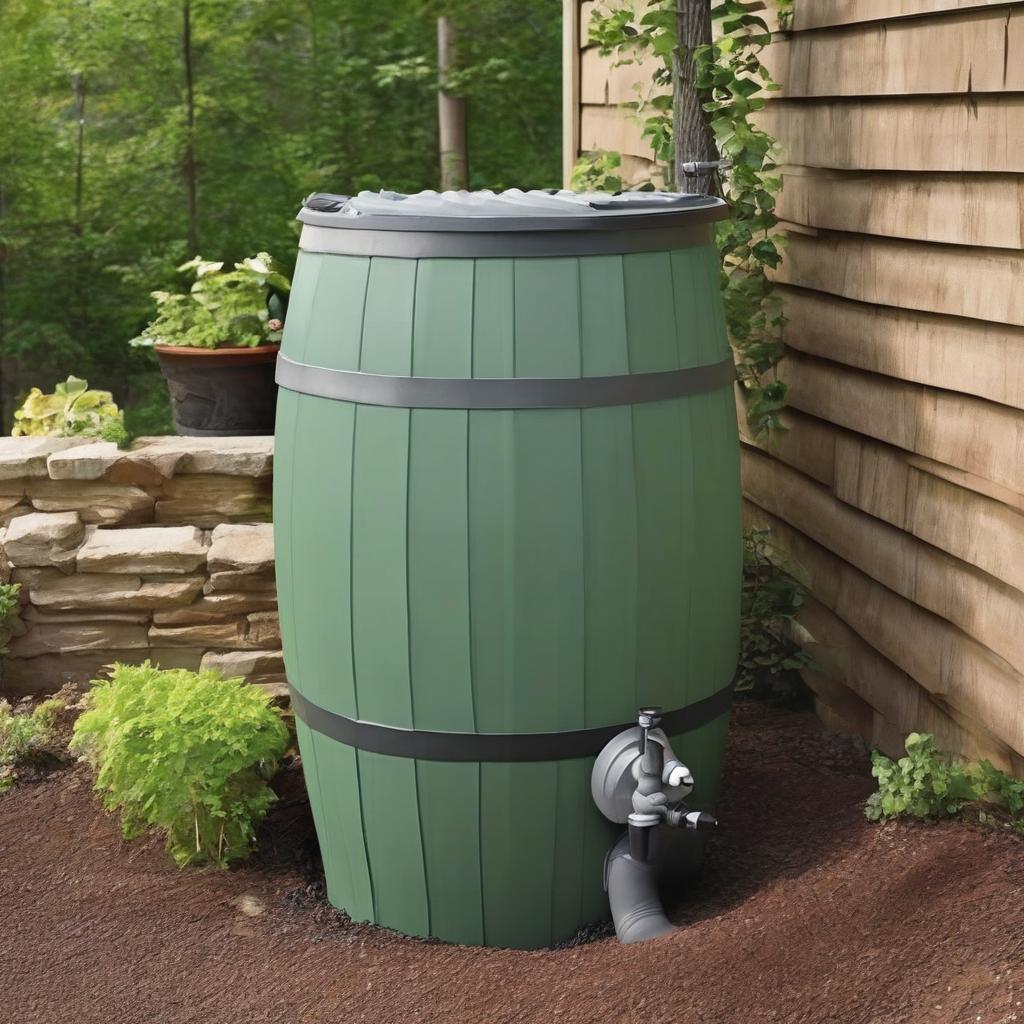
Reusing Rainwater without Gutters: A Simple DIY Rain Barrel
Looking for a way to reuse rainwater without using gutters? This easy DIY will show you how to upcycle a trash can into a rain barrel for under $35. With summer approaching, Eileen was working hard on her flower garden. She has a DIY planter box close to the house, but she also has a flower garden out in the perimeter of the yard.
Planning the DIY Rain Barrel
I did some research on how making DIY rain barrel reservoirs and settled on a design pattern I liked. A rain barrel reservoir is a very simple way to collect and store rainwater for future use. You first need a large container to store the water. A typical container used is the blue 55-gallon water drums with bung hole caps on the top. In my research, I actually found out that a lot of cities offer water conservation programs and give out these drums for free. Also, you can probably even check with businesses or food processing factories to see if they are throwing any away.
Choosing the Right Container
I opted for a different route though, as I did not need a large 55-gallon container. I shopped around at Home Depot and found a 20-gallon plastic garbage can for $13 that was perfect. The lid appealed to me because when I flipped it over, it was deep and round. This meant it would serve as a nice water collection basin for the falling rain as opposed to a flat surface that I would get with a water drum, allowing the water to pool in the center.
Constructing the DIY Rain Barrel
Making the DIY rain barrel was super simple. Here are the steps that I used:
- Drilling Holes In The Lid
- Attaching A Screen Cover
- Drilling An Overflow Hole
- Attaching A Valve Spigot
- Securing The Lid
Step by Step Instructions
- The first step of construction was drilling five large drainage holes in the center of the lid. I used a hole saw bit for my drill to make these cuts.
- Then I placed some mosquito screen for a cover on the part of the lid that would be facing the water, and secured it in place with some waterproof duct tape. It was important to cover the drainage holes with insect screen to keep bugs out of the water.
- I also had to drill an overflow hole in the top part of the garbage can. This was to allow water to drain out when the container was full to capacity.
- I needed a valve inserted at the bottom of the can to let water out when needed. I did some shopping online and found a nice valve spigot with a bulkhead fitting that was perfect for my rain barrel design.
- Next, I had to secure the upsidedown lid to the garbage can so that a gust of wind wouldnt send it soaring through the air.
Building A DIY Rain Barrel Stand
The DIY rain barrel was now finished. However, the project would not be complete without a proper rain barrel stand. The barrel needed to be elevated about a foot off the ground to allow buckets and watering cans to be placed under the spigot. I came up with a simple but very sturdy design for a stand using wood leftover from my shed project. It was important to use pressure treated wood for the stand as it would be in direct contact with the ground and be exposed to bugs.
Step by Step Instructions for the Stand
The steps I took to build the stand were as follows:
- I cut 2 lengths of 2 x 4s, 2 x 6s pictured below and 1 length of 4 x 4s not pictured.
- Then, I attached 4 of the 2 x 6s to 4 vertical 4 x 4s.
- Next, I attached 2 of the 2 x 4s to the top of the 4 x 4s. These were to serve as the supports for the stands platform.
- Finally, I attached 4 of the 2 x 6s to the top, completing the rain barrel stand.
Securing The Rain Barrel To The Stand
With the stand and rain barrel now complete, I found a good location near to Eileens garden and set it up. I also made sure there were no tree branches above to block the rainfall. At this point, I realized I forgot to properly secure the rain barrel to the stand. A strong gust of wind would knock over an empty barrel. So I screwed in 2 metal hooks into the stand and tied the garbage can handles to them with some carabiner style bungee cords.
Testing Our New DIY Rain Barrel
I was excited for Eileen to start using the rain barrel. Now I just had to wait for rain. Luckily it rained the next day, and I ran out after the skies cleared up to check out the rain barrel. My simple design worked pretty well. I opened the spigot and water came pouring out. Though, it wasnt that much water for the amount of rain that fell. The garbage can lid only has so much surface area to collect water and yielded a small amount of water. So, it would take several large rain falls to collect a usable amount of water.
3 Year Rain Barrel Update
Our DIY rain barrel has been working out great. It has saved us so many trips from the house all the way out to the garden hauling watering cans. Depending upon how much it has rained, sometimes we need to fill up the rain barrel with the hose, but then the rainwater will continue to maintain it again. Its much easier taking the hose all the way down the yard a once a year or so than every watering.
Related DIY Projects
With a little digging and a lot of stones, you can make your own stone walkway with these easy instructions. We LOVE the one we made and never thought it would get as much use as it did. Need a little shade in your sunny yard? Install your own sun shade sail. Its perfect for so many things from patios to kids play areas. Make these easy DIY planters in fun shapes for inside or outside use. Q: What is a DIY rain barrel and how does it work?
_*A simple DIY rain barrel is a container used to collect and store rainwater for future use, allowing you to reuse rainwater without using gutters.*_
Q: What materials are needed to make a DIY rain barrel?
_*A large container, such as a trash can, drill, hole saw bit, mosquito screen, waterproof duct tape, valve spigot, and screws.*_
Q: How do I choose the right container for my DIY rain barrel?
_*Choose a container that is large enough to store the water you need, consider a 20-gallon plastic garbage can as a suitable option.*_
Q: What are the steps to construct a DIY rain barrel?
_*Drill holes in the lid, attach a screen cover, drill an overflow hole, attach a valve spigot, and secure the lid.*_
Q: Why is a stand necessary for a DIY rain barrel?
_*A stand elevates the barrel off the ground, allowing buckets and watering cans to be placed under the spigot.*_
Q: How do I build a stand for my DIY rain barrel?
_*Cut wood to size, attach supports, and create a platform using pressure-treated wood.*_
Q: How do I secure the rain barrel to the stand?
_*Use metal hooks and bungee cords to tie the garbage can handles to the stand.*_
Q: How much does it cost to make a DIY rain barrel?
_*Under $35.*_
Q: Is a DIY rain barrel effective?
_*Yes, it can save trips to the garden hauling watering cans and provide a usable amount of water over several rainfalls.*_