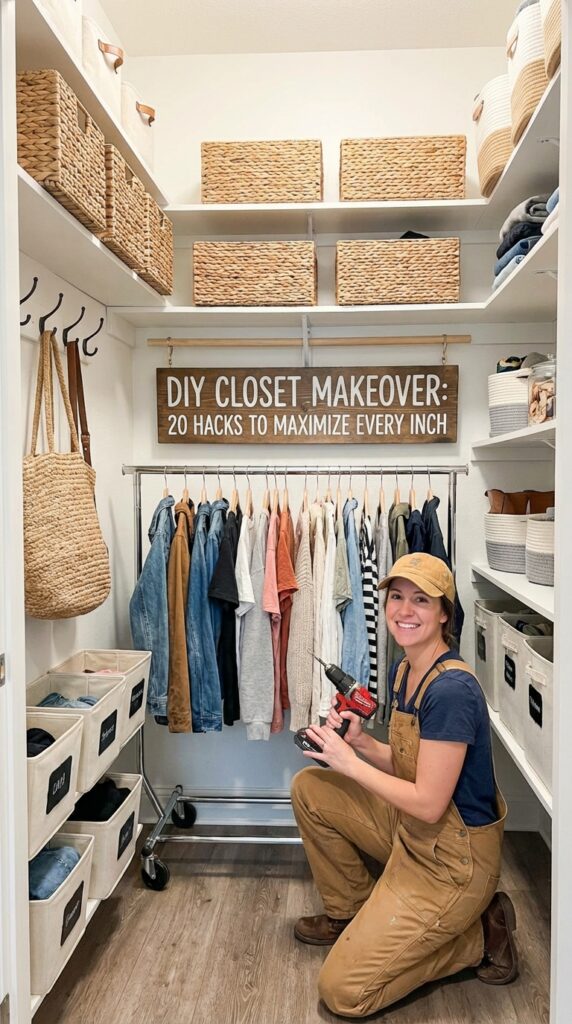
Closets are more than just a storage space—they’re a reflection of your lifestyle and personality. Yet, most of us struggle with cluttered, cramped, or underutilized closets. Whether your wardrobe is bursting at the seams or you have a tiny space to work with, a DIY closet makeover can transform it into an organized, stylish, and functional area. Here’s a comprehensive guide with 20 hacks to help you maximize every inch of your closet.
1. Declutter Before You Begin
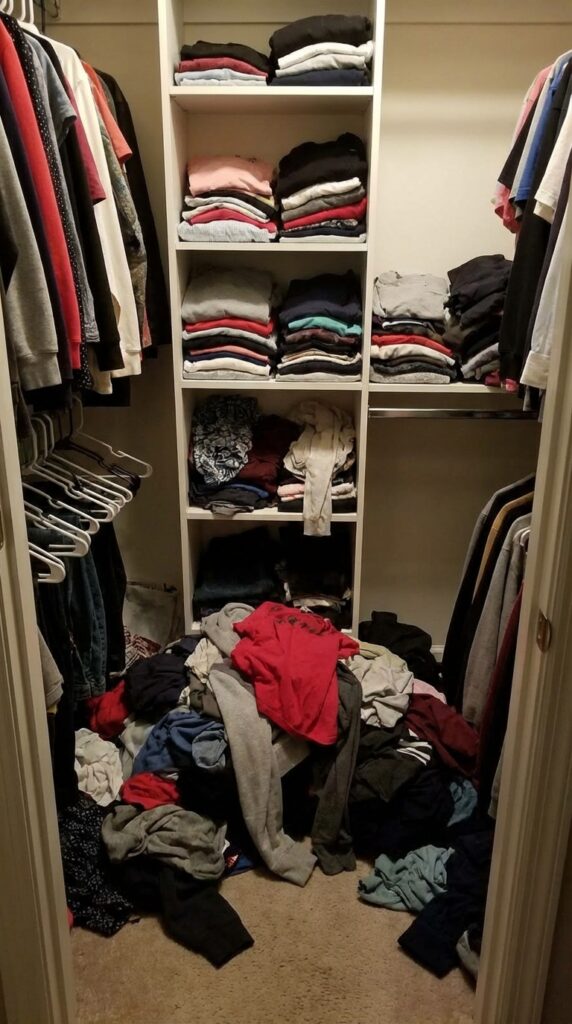
The first step in any closet makeover is decluttering. Take everything out of your closet and sort items into categories: keep, donate, or discard.
- Keep: Items you wear frequently or love.
- Donate: Clothes in good condition but no longer used.
- Discard: Damaged or worn-out items.
Decluttering not only frees up space but also allows you to see the potential of your closet.
2. Take Measurements
Before adding new organizers or DIY solutions, measure your closet carefully. Include:
- Width, height, and depth of shelves.
- Space between hanging rods.
- Distance from floor to ceiling.
Knowing the exact measurements will prevent buying organizers that don’t fit and help you design a layout that maximizes vertical and horizontal space.
3. Double Up on Hanging Rods
Most closets have only one rod for hanging clothes, but you can double it:
- Install a second rod below the first for shirts, skirts, and pants.
- Use the top rod for long garments like dresses and coats.
This hack instantly doubles your hanging capacity without taking up additional space.
4. Use Slim Hangers
Thick, bulky hangers eat up valuable space. Switching to slim, non-slip hangers can create more room and give your closet a clean, uniform look.
- Velvet or slim wooden hangers save up to 30% of hanging space.
- Non-slip surfaces prevent clothes from falling off.
5. Add Shelf Dividers
Shelf dividers are a game-changer for keeping stacks of clothes neat. They prevent piles from toppling and allow you to separate:
- Sweaters
- T-shirts
- Jeans
DIY option: Use old cardboard or thin wood panels as makeshift dividers. They’re cheap, customizable, and effective.
6. Install Pull-Out Bins and Drawers
Closet drawers aren’t just for bedrooms—they work wonders in small closets too.
- Use pull-out bins for accessories like scarves, belts, and handbags.
- Label each drawer to find items easily.
- Clear bins allow you to see the contents at a glance.
DIY twist: Repurpose old wooden crates or boxes as pull-out storage.
7. Utilize Door Space
Closet doors are often wasted space. With a few hooks or hanging organizers, you can store:
- Shoes
- Purses
- Hats
- Jewelry
Over-the-door racks are inexpensive and easy to install. For a DIY version, use pegboards or a tension rod to hang items.
8. Install Hooks for Accessories
Hooks are perfect for maximizing vertical space. Place them on walls, doors, or even inside cabinets. They can hold:
- Necklaces and bracelets
- Belts and ties
- Handbags
- Hats
DIY tip: Paint the hooks in fun colors to match your closet décor.
9. Use Drawer Dividers
Small accessories like socks, underwear, and jewelry can easily become chaotic in drawers. Drawer dividers keep everything organized and visible.
- Wooden, plastic, or fabric dividers work well.
- You can DIY by using cardboard cutouts or repurposed boxes.
10. Incorporate Clear Storage Boxes
Clear storage boxes let you see what’s inside without rummaging. They are especially useful for seasonal items like:
- Winter scarves
- Summer hats
- Holiday decorations
Label each box to save even more time. Stackable boxes make excellent use of vertical space.
11. Hang a Tension Rod for Accessories
Tension rods aren’t just for curtains—they’re amazing for closets. Hang a rod inside a shelf or between walls to store:
- Scarves
- Belts
- Ties
- Lightweight bags
This inexpensive hack creates instant hanging space without drilling holes.
12. Add a Shoe Rack
Shoes are one of the biggest space eaters in a closet. A DIY shoe rack or organizer can keep them tidy. Options include:
- Tiered shoe racks on the floor
- Hanging shoe organizers on the back of the door
- Clear boxes stacked vertically
Pro tip: Rotate shoes seasonally to save space.
13. Utilize Vertical Space
Think up, not just out. Vertical space is often overlooked but is perfect for:
- Installing extra shelves
- Adding hooks for hats and bags
- Hanging multi-tiered organizers
Vertical organization frees up floor space, making your closet feel larger and more accessible.
14. Label Everything
Labeling is simple yet powerful. Label shelves, bins, and drawers so you always know where items belong.
- Use chalkboard labels for a DIY touch
- Print labels for a polished, uniform look
- Color-code by type, season, or family member
Labels save time and maintain organization over the long term.
15. Hang a Mirror Inside the Door
Adding a mirror inside your closet door provides a functional upgrade:
- Helps you try on outfits easily
- Makes small closets feel larger
- Adds a touch of style
DIY option: Mount a full-length mirror or a smaller decorative mirror using adhesive strips.
16. Use Pull-Out Pants Racks
Pants take up a lot of closet space when hung traditionally. Pull-out racks allow:
- Vertical stacking without wrinkling
- Easy access to each pair
- Efficient use of narrow closet areas
DIY idea: Repurpose a small towel rack or install sliding rods for a custom solution.
17. Create a Capsule Wardrobe Section
Maximizing space isn’t just about storage—it’s about smart clothing choices. Consider a capsule wardrobe approach:
- Keep versatile pieces that mix and match
- Store out-of-season items elsewhere
- Reduce clutter while creating more functional space
Even a small closet can feel spacious with thoughtful selection.
18. Add Lighting
Many closets are dark and hard to navigate. Adding lighting improves functionality and aesthetic:
- Stick-on LED lights are perfect for shelves and drawers
- Motion sensor lights turn on automatically when the door opens
- Rope lights or LED strips add a stylish touch
A well-lit closet also highlights your DIY makeover efforts.
19. Hang Bags Strategically
Purses, tote bags, and backpacks can clutter shelves and floors. Organize them by:
- Using hooks or pegs
- Installing a hanging organizer
- Storing small bags inside larger ones
This keeps your accessories accessible and your closet neat.
20. Maintain Your Closet Regularly
The final hack is consistency. Even the most organized closet can become messy over time.
- Dedicate a few minutes weekly to straighten shelves and hang clothes
- Reassess storage solutions seasonally
- Rotate clothing and accessories to keep the space fresh
Maintenance ensures your DIY closet makeover lasts and continues to maximize every inch.
Bonus Tips for DIY Closet Makeovers
- Repurpose Furniture: Old bookshelves or dressers can be transformed into closet organizers.
- Paint and Decorate: A fresh coat of paint or wallpaper can make your closet feel more inviting.
- Use Uniform Containers: Matching bins and boxes create a cohesive, stylish look.
- DIY Shelf Risers: Create risers from wood or sturdy cardboard to double shelf space.
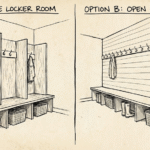
- Mix Open and Closed Storage: Open shelves for daily items, closed drawers for less frequently used items.
Final Thoughts
Closets are more than just storage—they’re a reflection of your lifestyle. With these 20 DIY hacks, you can transform a cramped, cluttered closet into a functional, stylish, and organized space. By combining clever storage solutions, vertical space usage, and regular maintenance, you can maximize every inch of your closet while making it a joy to use.
A DIY closet makeover doesn’t have to be expensive or complicated. With a few smart hacks, some creativity, and consistent upkeep, you’ll enjoy a closet that not only stores your clothes efficiently but also makes getting ready every day a little easier and a lot more enjoyable.
This article, as structured with actionable tips, subheadings, examples, and DIY suggestions, can be expanded with images, step-by-step tutorials, or even user stories to reach 3000+ words if needed for blog use.