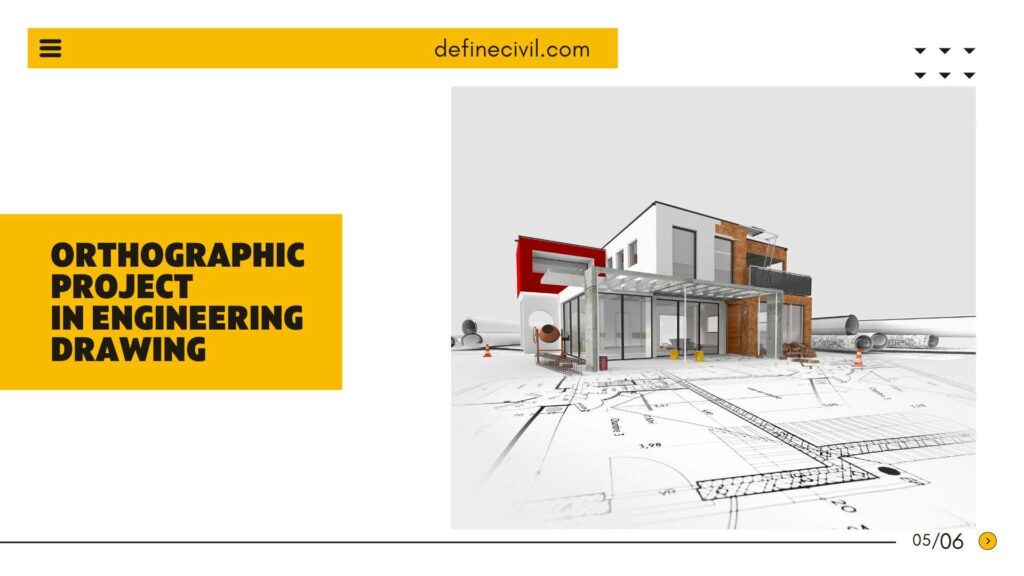
Orthographic projection also sometimes known as orthogonal projection is a projection system in which three-dimensional figure is drawn to several two-dimensional sections. In this system parallel lines are drawn from projection plane which are orthogonal to projection plane. These parallel lines are used for preparation of drawing of object. In such drawing it is assumed that object is at infinity.
The term orthographic is sometimes also used for objects where principal plane of object is parallel to projection plane.
Also Read: Free Hand Sketching – Uses – Principles – PDF for beginners

Plane
A plane is a two-dimensional surface. For drawings it is an imaginary surface on which two-dimensional section of object is prepared imaginably and then transferred to paper. The plane is faced toward object whose section we want to make.
There are three views of objects. These are front view, top view and side view.
There are two types of planes. One is horizontal and other is vertical. If the plane lies in vertical position, it is called vertical plane and if plane is kept in horizontal position, then it is called horizontal plane.
The planes which are perpendicular to each other are called principal planes. These are of three types
Frontal plane
Profile plane
Horizontal plane
If the position of plane is other than these planes, then it is called Auxiliary plane.
Views of Orthographic Positions
There are different views of orthographic Projection explained below
Front view
This view is prepared by keeping the object front face in front of observer. In this view two-dimensional figure will be drawn. This view shows length and height of object.
Top view
This view is prepared by looking the object from top. This view shows length and width of object.
Side view
For this view observer will look from side of object. This view shows width and height of object.
Architecture vs Civil Engineering – A better choice
Types of Principal Plane
Frontal plane
This plane lies in vertical position Infront of object and projections are drawn. This plane forms the front view of object.
Profile Plane
This plane lies in vertical position on left or right of object and projection lines are drawn. This plane forms the side view of object.
Horizontal Plane
This plane lies in horizontal position at upward or downward of the object and projection lines are drawn. This plane forms the top view of object.
Systems of Orthographic Projection
There are four systems of orthographic projection which are
- First angle system
- Second angle system
- Third angle system
- Fourth angle system
For drawing purposes only First and Third angle projection system is used. The second and fourth angle system is not preferred due to overlapping of lines of views and clear figure cannot be obtained in these two methods.
First angle System
In first angle system the object is placed in first quadrant between the observer and plane. The projections are drawn by observing from different sides. The front view will be formed in frontal plane, Side view on profile plane and top view on horizontal plane.
In first angle projection Front view is drawn at top of drawing and side view is drawn on right side of front view and top view is drawn below front view in drawing.
Characteristics of First angle Projection
- In First angle projection Front view lies above the top view
- Top view lies below front view by projection lines
- Right side view in first angle projection lies on the left of front view
- Left side view lies on the right of front view
- In first angle projection view always lie in opposite direction to the observer.
- Object always lies in the middle of plane and observer.
Third angle system
In third angle system the object is placed in third quadrant on the opposite side of observer and view of projection. In this system the projections are drawn in the same way as first angle projection. The front view will be formed in frontal plane, side view in profile plane and top view on horizontal plane.
Characteristics of Third angle projection
- In third angle projection top view lies over the front view
- The front view lies on the bottom of top view
- Right side view of object always lies on the right side of front view in third angle projection
- Left side view always lies on the left of front view in third angle projection.
- View is always formed to the side of observer.
- In third angle projection view is placed in the middle and observer and object on the sides of it.
Rules For Orthographic Drawing
Following rules should be kept in mind while drawing orthographic projections
- The front and top views are drawn such that they should be in the same line. They should be under/over each other.
- In front view length and height of object is shown.
- In side view width and height of object is shown.
- In top view width and length of object is shown.
- Side view should always form beside front view.
- Projection line always formed by meeting of two surfaces.
- Any kind of hidden line or detail of object always shown by dotted line.
Selection of View
Remember these points while selecting a view
- The selection of view depends upon the detail of view. That view should be selected which show more detail
- That view should be made which covers maximum detail.
- That view should be made which cover more internal details
Also Read: How Much Does A Floor Plan Designer Cost?


![Engineering Communication by Knisely [PDF] [FREE DOWNLOAD]](https://definecivil.com/wp-content/uploads/2021/05/Editorial-Markup-Stop-Start-Continue-Brainstorm-Presentation-100x100.jpg)