Building a 3-Bin Composting System with Used Shipping Pallets
Not long ago, we filmed an episode for Growing a Greener World, which was all about composting. To this day, we get many requests for the instructions on how to build the three-bin composting system made from used shipping pallets that I constructed during the episode. The beauty in the design was its simplicity, low cost, and the ability to repurpose some of those ubiquitous pallets that pile up everywhere.
The Benefits of a 3-Bin Composting System
With a drill and a few all-weather screws, anyone can assemble a multiple-bin pallet composting system quickly and cheaply. In my case, with the help of a neighbor simply to hold the pallets in place as I drilled the screws, we had a basic three-bin composting system securely in place in a matter of minutes, literally. The bin was so functional yet simple, I started thinking of ways to enhance it.
Building the 3-Bin Composting System
Pallet Selection
Pallets are made from all different types of wood. For a compost bin, it’s preferable to find those that are rot-resistant, such as oak or cedar. Pine, although easy to find, does not stand up to the elements as long. For strength and durability, you can’t beat hardwood. Also, be aware that pallets from one manufacturer to another are not always uniform in size. For this system, it’s preferable that they’re all the same size. It makes for a better-looking finished product and helps during assembly to have one uniform size. Most importantly, choose pallets that have not been chemically treated.
Understanding Pallet Treatment
The most common treatment methods for pests and pathogens are either heat-treating (marked on the pallet with HT) or fumigation, using Methyl Bromide (marked MB). Stick with heat-treated or new virgin wood if you can find it.
Assembly
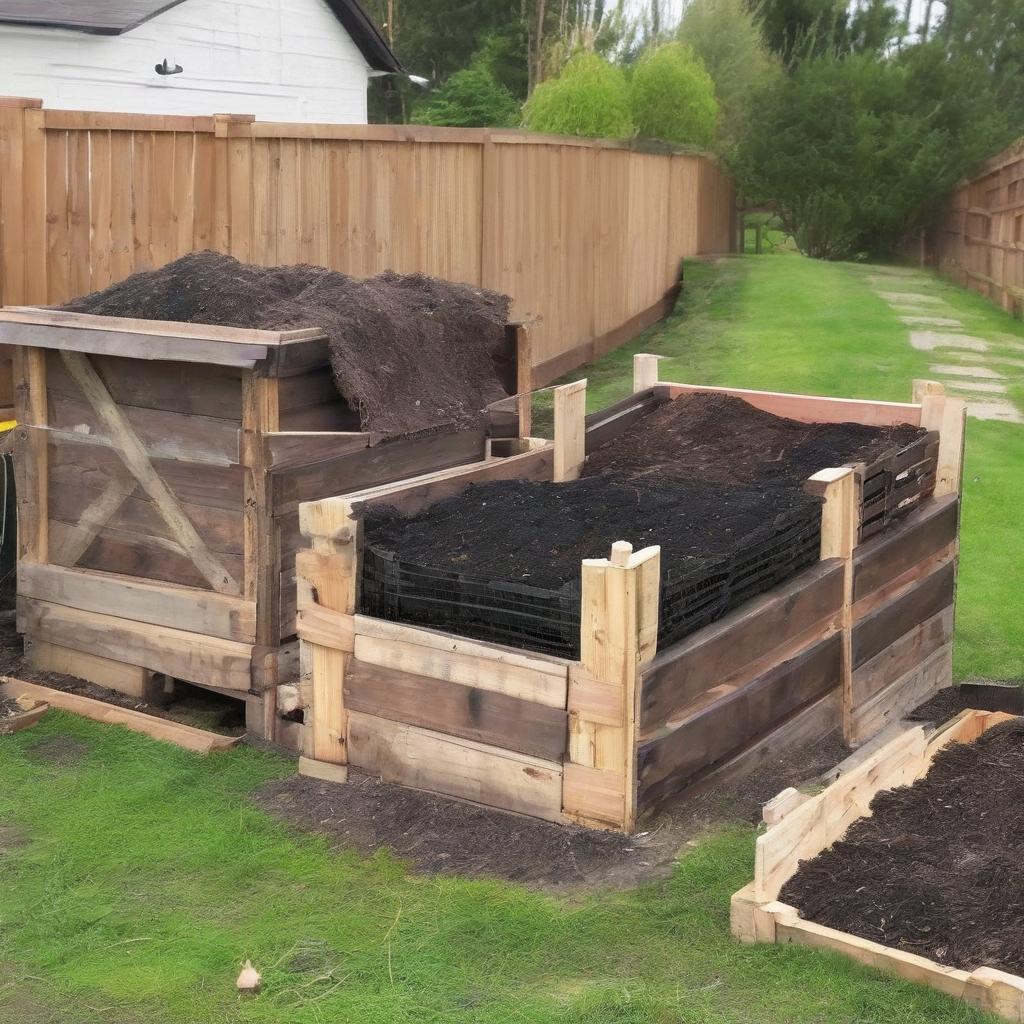
Start with a level surface for the area where your system will sit and assemble it in place. For my setup, you will need seven pallets: one for each outer wall, two for the dividers to separate the bins, and three across the back. Assembly is straightforward and intuitive. I simply started by attaching the left outer wall pallet to the back pallet with several screws. Then I added one of the inner pallet dividers and secured it against the back pallet. With the remaining pallets, work your way across for the next two sections in this same manner. In no time, you are finished with the basic setup and ready to compost.
The Options
The assembly was so fast and easy, I felt like I wanted to spiff mine up some more. Although totally unnecessary, I liked the idea of having a cover over the bin that would hold my finished compost. My improvised solution consisted of a cut-to-fit sheet of corrugated plastic screwed to a wooden frame made of 2×2 pine. I then attached two hinges to the frame and secured them to the outside of the back pallet. Two larger hinges were also used to attach the outside pallet wall of the finished compost section to the back pallet. My thinking was it would be a nice way to swing open that side so I had better access for retrieving compost.
Simplifying the Design
In hindsight, it’s a nice feature but it’s not necessary and more trouble than it’s worth. I’m building a new pallet composting bin this weekend at the Garden Farm where I now live. It will be a no-frills, basic model which is frankly the best overall and easiest by far to make.
Tips for Enhancement
Consider grabbing an extra pallet to use just for additional parts. I removed the slats from it to place in between other slats of my finished bins wherever I wanted to close some of the gaps. It’s a smart and simple fix to help keep more of your precious compost in place.
- Use the extra pallet slats to close gaps between the slats of the finished bins.
- Add a long treated 2×4 across the backside of the pallet wall for extra stability.
I also strongly suggest adding a long treated 2×4 across the backside of the pallet wall. The extra stability it provides is a simple and inexpensive option to reinforce the entire system.
Conclusion
You can watch the composting episode and see just how I built this bin. With these simple instructions, you can create your own 3-bin composting system using used shipping pallets.
About the Author
Joe Lampl is the Host and Executive Producer of the award-winning PBS television series Growing A Greener World. Off camera, Joe dedicates his time to promoting sustainability through his popular books, blog, podcast series, and nationally syndicated newspaper columns. Follow Joe on Twitter.
- Choose the right pallets for your composting system.
- Assemble the pallets into a 3-bin system.
- Consider adding enhancements like a cover or extra stability.
- Start composting and enjoy the benefits of your new system.
 What is the main purpose of a 3-bin composting system?
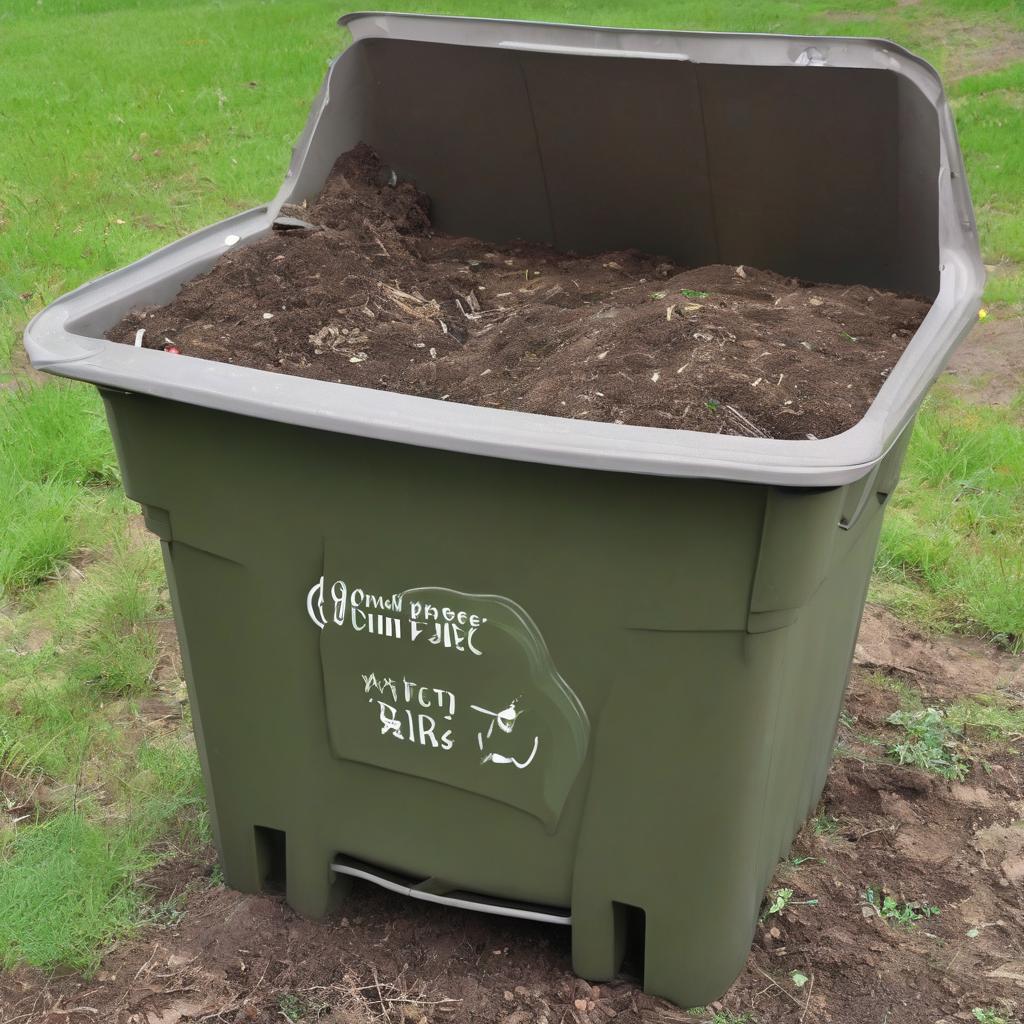
A 3-bin composting system allows for efficient composting and separation of materials in different stages.
What type of pallets are suitable for building a compost bin?
Rot-resistant pallets made from wood like oak or cedar are preferable.
How do I treat pallets for use in a compost bin?
Choose heat-treated (marked HT) or new virgin wood pallets, and avoid those treated with Methyl Bromide (marked MB).
How many pallets are needed for a basic 3-bin composting system?
Seven pallets are required: one for each outer wall, two for the dividers, and three across the back.
What are some optional enhancements for a 3-bin composting system?
Adding a cover, extra stability with a 2×4, or using extra pallet slats to close gaps are optional enhancements.
Is it necessary to add a cover to the compost bin?
No, a cover is not necessary, and a basic model without one is the easiest to make.
How can I add extra stability to the pallet wall?
Add a long treated 2×4 across the backside of the pallet wall.
Can I use any type of wood pallet for the compost bin?
No, choose pallets made from rot-resistant wood and avoid chemically treated ones.
How long does it take to assemble a 3-bin composting system?
Assembly can be completed in a matter of minutes.