If you’ve ever started a wood project full of excitement… and then hit the sanding stage and thought:
“Wait. What grit do I use?”
“Am I sanding too much?”
“Why does it still feel rough?”
“Did I just ruin this??”
You are not alone.
Sanding is one of those steps that seems simple — until you’re standing there covered in dust, staring at scratch marks, wondering what went wrong.
So today, we’re breaking down everything you need to know about sanding wood — step-by-step, beginner-friendly, and practical. And at the end, I’ll give you a super simple cheat sheet you can screenshot or print.
Let’s make sanding feel easy.
Why Sanding Matters (More Than You Think)
Sanding isn’t just about smoothing wood.
It:
- Removes old finish
- Levels uneven surfaces
- Opens the wood grain for stain
- Helps paint adhere properly
- Prevents blotchy stain
- Creates that smooth, professional feel
Skipping proper sanding is the fastest way to make a project look amateur.
If your stain looks patchy?
If your paint peels?
If your surface feels fuzzy?
Sanding (or lack of it) is usually the reason.
Step 1: Understand Sandpaper Grit (This Is Everything)
If you only remember one thing from this article, let it be this:
Lower number = rougher grit.
Higher number = smoother grit.
Here’s how it breaks down:
40–60 Grit (Very Coarse)
- Heavy stripping
- Removing thick paint or varnish
- Shaping wood
Not for finishing work.
80 Grit (Coarse)
- Removing old finish
- Flattening uneven wood
- First step for rough lumber
This is usually your starting point for raw wood.
120 Grit (Medium)
- Smoothing after 80 grit
- Prepping for paint
- Light smoothing
This is the most common “middle” grit.
150–180 Grit (Fine)
- Final sanding before paint
- Prepping softwoods before stain
- General finish sanding
This is where wood starts to feel smooth.
220 Grit (Very Fine)
- Final prep before stain
- Light sanding between paint coats
- Ultra-smooth finish
Anything higher than 220 is typically for between-coat sanding or specialty finishing.
The Biggest Sanding Mistake People Make
Jumping from coarse grit straight to fine grit.
For example:
Starting at 80… then jumping to 220.
That doesn’t remove the deep scratches left by the 80 grit.
You need to gradually move up in grit so each step removes the scratches from the previous one.
Think of it like:
80 → 120 → 180 → 220
Not 80 → 220.
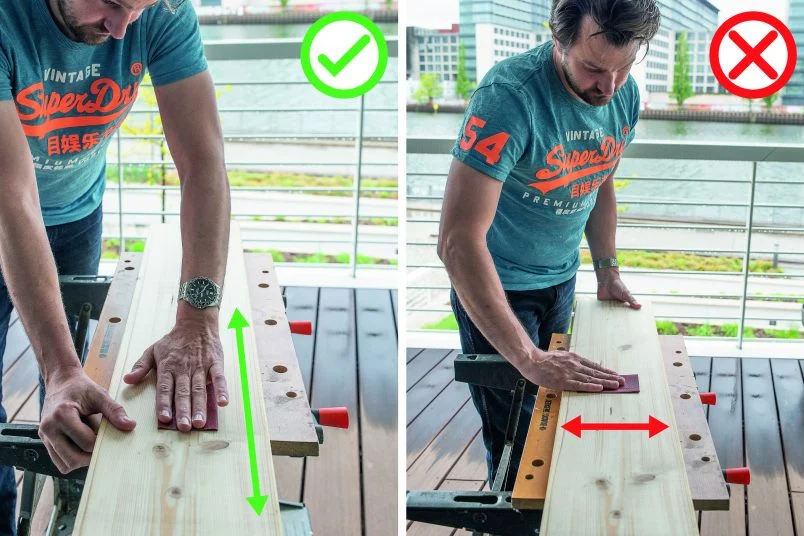
Step 2: Always Sand With the Grain
This is non-negotiable.
Sanding against the grain creates visible scratch marks that show through stain and even paint.
Look closely at your wood.
See those lines?
That’s the grain direction.
Move your sandpaper in the same direction.
Always.
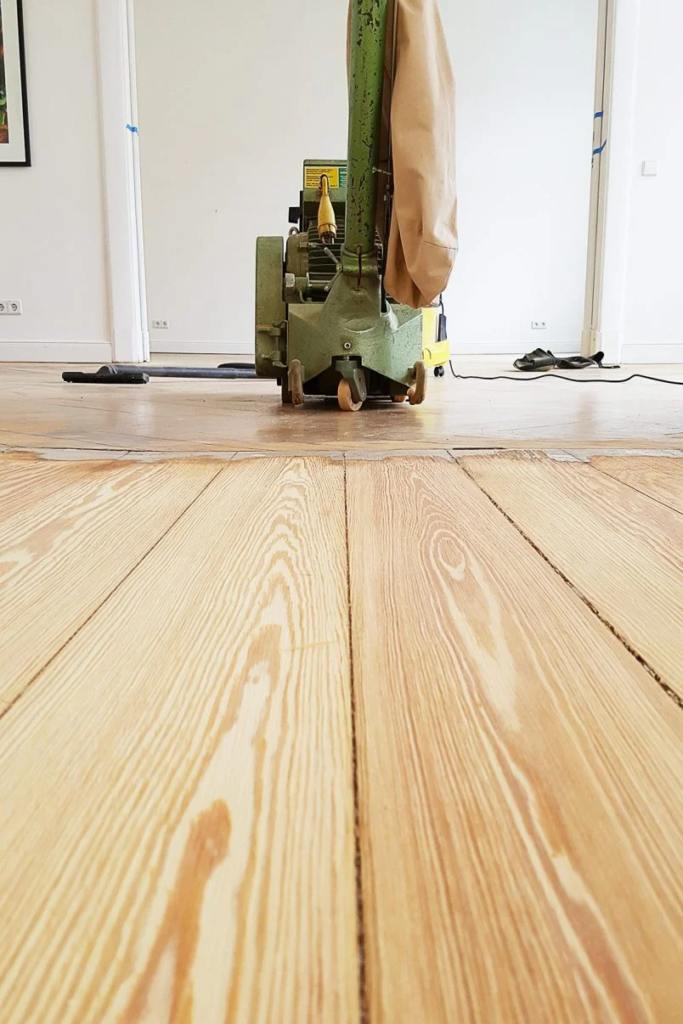
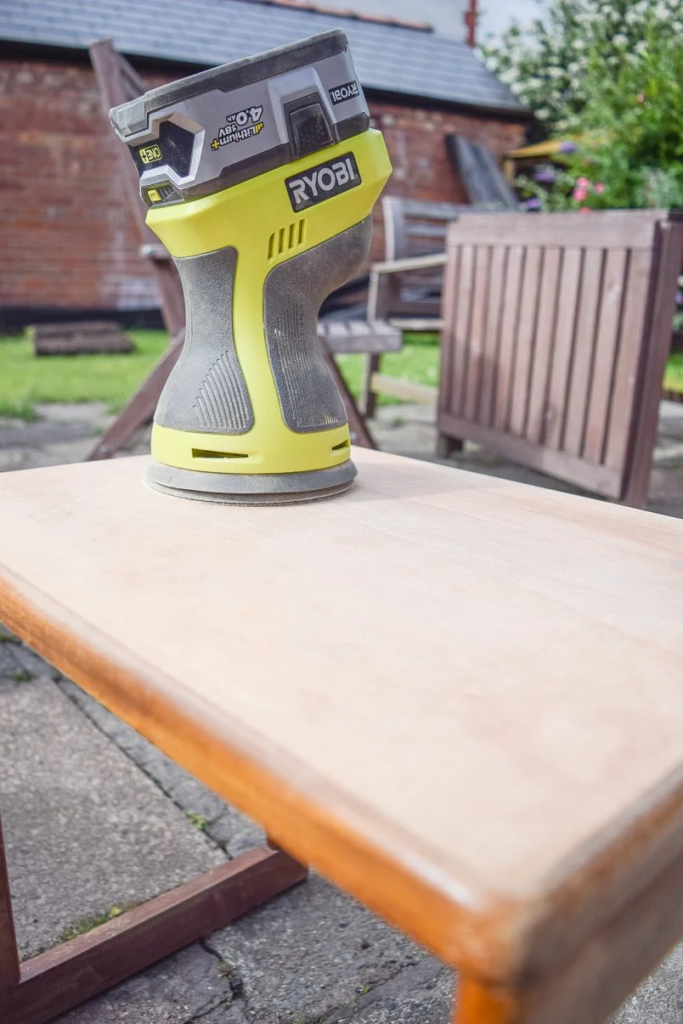
Step 3: Choosing the Right Sanding Tool
You don’t always need a fancy power sander.
Here’s what works best for different situations:
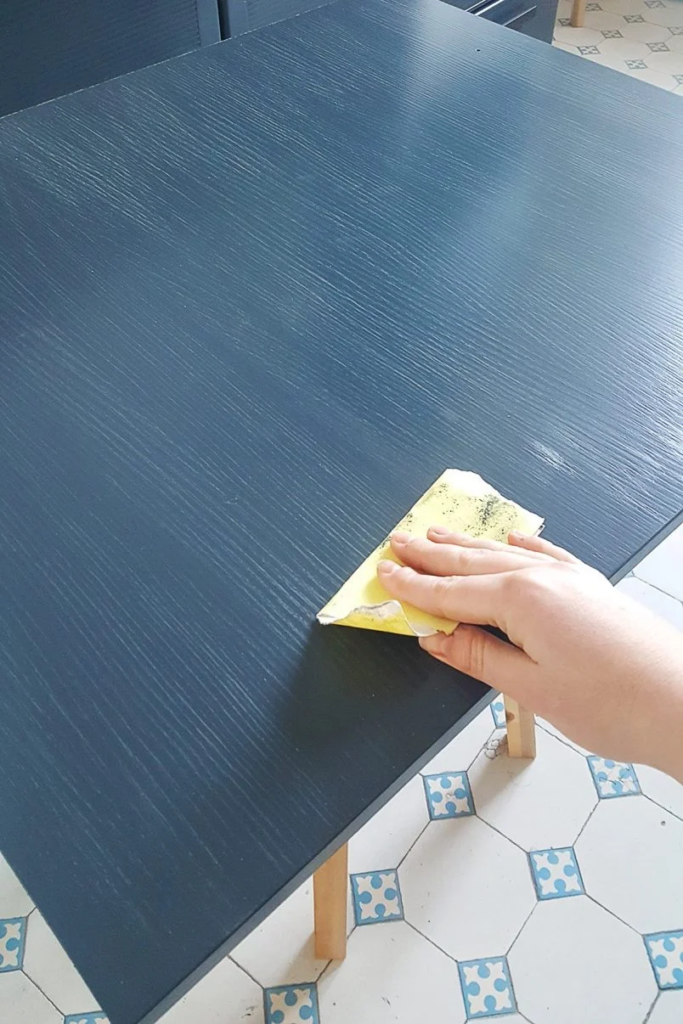
Hand Sanding
Best for:
- Small projects
- Detailed areas
- Light sanding
- Between coats
Use a sanding block to keep pressure even.
Orbital Sander
Best for:
- Furniture
- Tabletops
- Cabinet doors
- Medium projects
This is the most versatile and beginner-friendly power sander.
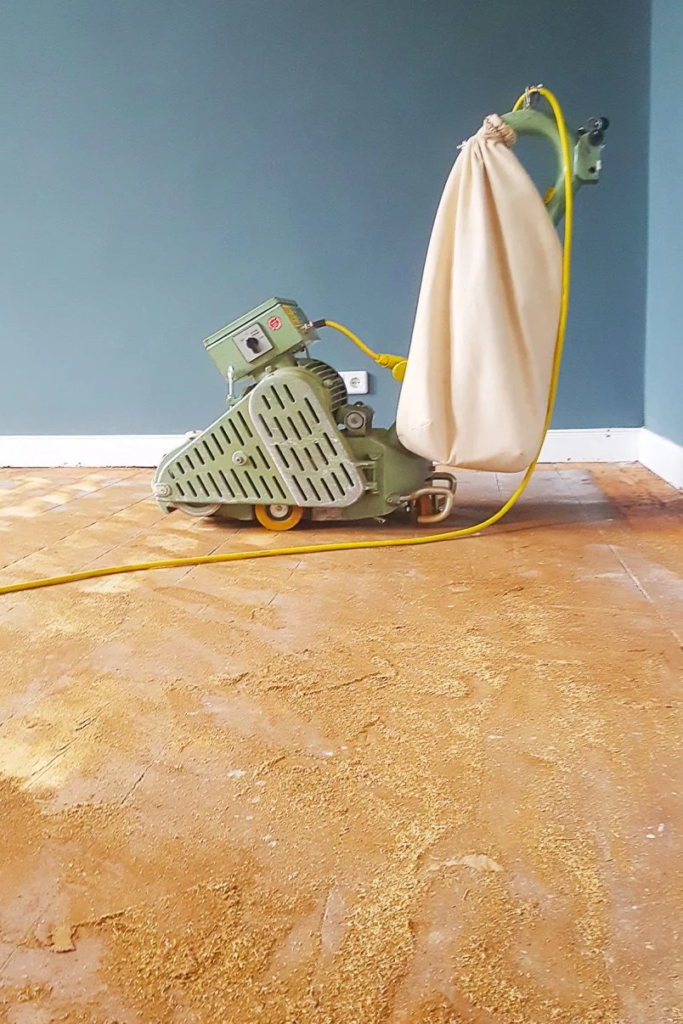
Belt Sander
Best for:
- Large flat surfaces
- Heavy removal
- Decks
Be careful — it removes material quickly.
Step 4: How Much Pressure Should You Use?
Here’s the secret:
Let the sandpaper do the work.
Pressing harder doesn’t make it smoother.
It just creates uneven sanding and swirl marks.
Light, even pressure is key.
If using a power sander, don’t push down aggressively — guide it gently.
Step 5: Sanding Raw Wood (Before Staining)
If you’re staining raw wood, here’s your basic process:
- Start with 80 or 100 grit (if rough)
- Move to 120
- Finish with 180 or 220
Stop at 220 for stain.
Going smoother than that can actually prevent stain from penetrating properly.
Yes, sanding too much can be a problem.

Step 6: Sanding Between Paint or Polyurethane Coats
Light sanding between coats makes everything smoother.
Use:
- 220 grit
- Or 320 grit for very light scuffing
You’re not removing paint — you’re just knocking down bumps and dust particles.
Wipe clean before applying the next coat.
Step 7: How to Avoid Common Sanding Problems
Let’s troubleshoot quickly.
❌ Swirl Marks
Cause:
- Too much pressure
- Skipping grits
- Dirty sandpaper
Fix:
- Step back down one grit
- Sand evenly
- Move gradually upward
❌ Fuzzy Wood After Staining
Cause:
- Not sanding fine enough
- Raised grain
Fix:
- Lightly sand with 220
- Wipe clean
- Apply another coat
❌ Uneven Stain Absorption
Cause:
- Uneven sanding
- Skipping grits
Fix:
- Sand evenly through all stages
- Consider wood conditioner for softwoods

Step 8: Always Remove Dust Properly
After sanding:
- Vacuum thoroughly
- Wipe with a tack cloth or damp microfiber cloth
- Let dry before staining or painting
Dust left behind will ruin your finish.
Bonus: Sanding Safety Tips
Sanding creates fine dust particles that are not good for your lungs.
Always:
- Wear a dust mask
- Use eye protection
- Sand in a ventilated area
- Vacuum frequently
Especially important if sanding old paint — which may contain lead in very old homes.
How to Know When You’re Done Sanding
Run your hand across the surface.
Close your eyes.
If it feels smooth and consistent — you’re there.
Look at it under good lighting.
If you see scratch lines or shiny spots, you may need another pass.
Consistency is the goal.
Printable Sanding Cheat Sheet (Screenshot This!)
Here’s your simple sanding reference guide:
🔨 RAW WOOD PREP (For Stain)
Rough lumber:
80 → 120 → 180 → 220
Already smooth wood:
120 → 180 → 220
Stop at 220 for stain.
🎨 BEFORE PAINT
Raw wood:
120 → 180
Previously painted surface:
120 (scuff sand)
Between paint coats:
220
🪵 HEAVY STRIPPING
Old paint or varnish:
40 or 60 → 80 → 120 → 180
🧼 BETWEEN POLYURETHANE COATS
220–320 grit (very light sanding)
Final Thoughts: Sanding Is the Secret to a Professional Finish
Here’s the truth:
Beautiful furniture isn’t about expensive paint.
It isn’t about trendy stain colors.
It isn’t about perfect decor.
It’s about prep.
Sanding is where projects succeed or fail.
Take your time.
Move gradually through grits.
Sand with the grain.
Clean your dust.
Be patient.
And I promise — your finish will look 10x better.
If you’d like, tell me:
- What project you’re working on
- What type of wood it is
- Whether you’re painting or staining
And I’ll give you a custom sanding plan tailored to your project.