Sand Cone test is a compaction test to measure density of soil in the field. You can obtain in-situ density of natural soil. The test is suitable for determination of the dry density of compact, fine, and medium-grained soils.
Sand Cone test is also referred to as Sand Replacement method in India and Pakistan. That is because in this method, we use sand as a replacement to find the volume of the hole in the ground.
Now basically, the in-situ density of soil is weight of the soil sample divided by the volume of the sample. With such, finding the volume of soil is not a straight forward procedure in the field. That’s where sand cone method comes handy in indirectly obtaining the volume of the dug hole.
Background of the test
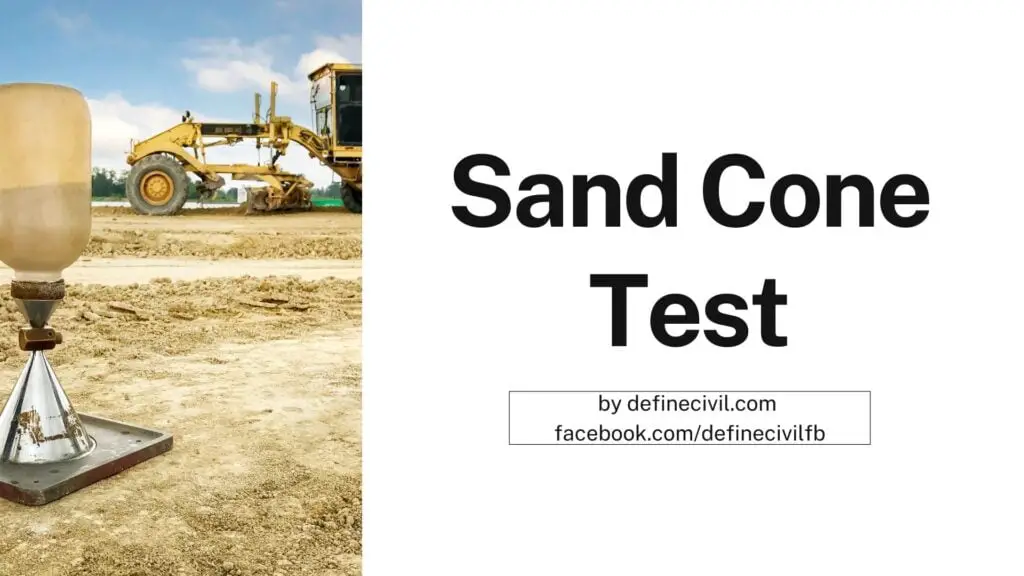
You basically use calibrated sand in sand pouring cylinder, which has a known density. During procedure of the test, you just pour the sand in the dug hole and determine the weight of the sand required to fill the hole. You can now convert this weight into volume by the calibrated density of the sand.
Don’t worry I’ll explain everything about sand cone test in detail below:
Importance of sand cone Test method
Engineers use this test as a quality control procedure. Sand Cone Test is a need for cases where compaction is required like abutments, embankments, and pavement construction. Sometimes, you need to determine the bearing capacity of soils like for slope stability analysis or for determination of pressure on the underlying strata or for calculation of settlement during design of underground structures.
Equipment and Apparatus
Here’s the apparatus you require for the sand cone method:
- Sand pouring cylinders come with two standard dimensions as 115 mm and 215 mm internal diameter. The sand pouring cylinder apparatus has a conical funnel and a shutter. Small sand pouring cylinder is suitable for in-situ density of fine and medium-grained soils. Large sand pouring cylinder is suitable for fine, medium and coarse-grained soils.
- Sand of known density – called calibrated sand.
- Standard Base plate with a hole of diameter in coherence with that of the conical funnel.
- Excavating rod
- Field soil container boxes
- Physical balance
Procedure
Here’s the procedure:
- Before using the sand cone apparatus, make sure to check the calibration. Take note of the bulk density of the sand that you’re going to use in the apparatus. Standards allow you to use sand of passing sieve 1.0 mm and retaining on sieve 600 microns.
- Fill the sand cone apparatus with calibrated sand and note the weight of the sand cone filled as W1.
- Now make sure the area of testing is leveled and metal tray sits uniformly on the top.
- Start excavating the hole gently in the soil upto depth of 4 to 5 inches. Make sure to go straight deep in line with that of the hole in the base plate.
- Now remove and collect the excavated soil separately. Be sure to trim off irregular projections in the hole and make it smooth and uniform.
- Note the weight of the excavated soil precisely in the lab report as W2.
- The next step is to place the sand cone above the hole of the base plate and open the shutter valve. The sand will entirely fill the excavated area.
- Now close the shutter valve and determine the weight of the remaining sand inside the cone. Record this weight as W3. The weight of the sand required to fill the hole will be determined as W1-W3.
- We can now determine the volume of the excavated hole indirectly by using the known density of the sand and the determined weight.
- So, volume of the excavated hole = (weight of the sand required to fill hole (W1-W3)/density of the test sand (D1))
- For the in-situ bulk density of the soil, just divide the weight of the excavated soil with that of the volume of the hole. Density = weight of the excavated soil (W2) / volume of the hole (V)
- For determining the dry density proceed as below:
- Take the sample of the soils in three different moisture testing containers.
- Note the net weight of soil in all the three samples by subtracting the weight of the empty containers as Ww.
- Place the samples in oven to be dried at a temperature of about 110 degrees.
- Now note down the dry net weight of the samples after extracting from the oven as Wd.
- Now determine the moisture content of the soil as = ((Ww-Wd)/Wd)*100
- The dry density of the soil can be obtained by the relationship formula for the density and moisture content. Dry density of soil = bulk density of soil / (1+moisture content)
Calculation
Here’re the calculations for the field density test by sand cone method:
weight of the sand cone filled with sand = W1 = ___________________ grams
Weight of the excavated soil = W2 = _______________________ grams
Weight of the remaining sand with cone = W3 = _______________ grams
weight of the sand required to fill hole = Wh = W2 – W3
Volume of the hole Vh = Wh / D where (D is the density of the sand used)
Bulk density of the soil = Vb = W2 / Vh
Moisture content = M %
dry density = Vd = (Vb) / (1+M)
Advantages
If we compare sand cone or sand replacement test with other methods of field density test, we can easily conclude following advantages:
- This test is easy to perform as no extraordinary apparatus is required.
- The test is economical and no special arrangements are required as that in nuclear density test.
- The test can be repeated easily to take average of the readings, when required.
- Sand replacement test is recommended for all types of medium, fine, and coarse grained soils where core cutter cannot penetrate inside.
- If performed correctly, the test gives accurate readings with no margin of error.
Lab Report
I’ve already provided the calculations above for the preparation of lab report. However, I’m also sharing with you the PDF of the professional lab report for your reference. You can also download the excel sheet from here to just enter your values and prepare your own lab report for sand cone test.
Precautions of Sand Cone Test
Here’re the things that you should take care while performing the test:
- Make sure the soil to be tested should be firm and flat.
- The testing sand should be dry and fine so to easily and uniformly fill the excavated portion.
- Make sure to remove and include irregular projections in the excavated hole.
- The control valve of the sand cone apparatus should be properly working.
- Make sure to fix the base plate at the testing site with the help of rod or nail.
Sand Cone Method Conclusion
Here’re the recommended values of the dry density for different layers in pavements construction.
- Subgrade – 95 – 98% of the MDD (Maximum dry density – determined by standard proctor test)
- Sub-base layer – 98%
- Base layer – 98%
- Asphaltic Base Course – 100%
- RCC (Roller Compacted Concrete) – 98%.
Frequently Asked Questions FAQ
How deep do I dig in the sand cone method template?
There’re different recommendations in code about the depth range of the hole in sand cone method. The most common value we take as a guide for depth of hole is 10 cm or (4 inches). But preferably you can choose a range of approximately 4 to 5 inches as a guide.
Why is sand cone method important?
Sand Cone method is an important test for highway and road construction. We use this test to determine in-situ density of the sub-base, base or subgrade of a road project to check if it meets the project specification. It is important because if the soil is not properly compacted the pavement will settle differentially under loading conditions.
What is stand cone method testing for?
Sand cone method testing is performed to evaluate the in-situ compaction of the field. The density obtained by this method is compared with the maximum dry density achieved in the laboratory by standard or modified proctor compaction test.
What are some assumptions for sand cone methods?
If we consider the working procedure of sand cone test, the basic assumption is that the calibrated testing sand fills entirely the excavated hole and no part of portion is kept vacant. This assumption should stand true in order for the test to be effective and useful.


