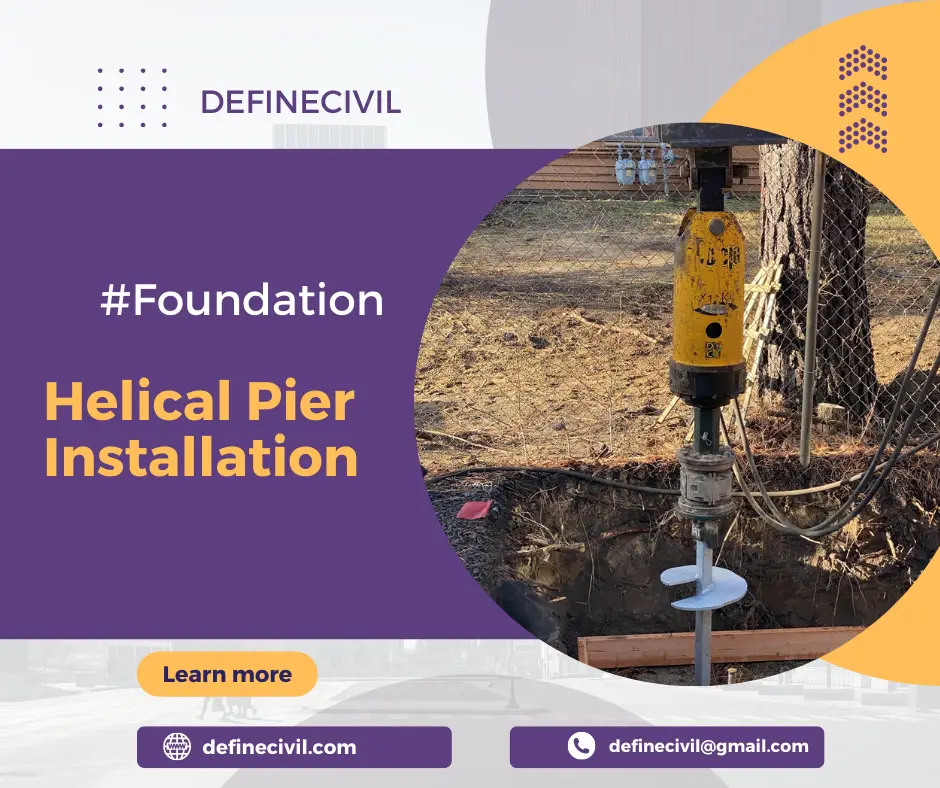
Helical pier installation is a pretty common technique to offset the effects of foundation settlement in building. We know foundations generally settle under the impact of load or due to downward movement or escape of soil underneath the footing.
Some common reasons for foundation settling includes expansive soil under foundation, root wedging, excessive loads from structure, excavation in the vicinity of foundation, and improper compaction and consolidation of underlying soil. Anyhow, ground heave can also cause your house to sway out of its normal position. Heave is technically the opposite of settlement (it swells your house up).
Now coming back to helical piers; these piers are quite an effective remedy against settlement due to all of above reasons or conditions. I’ve already talked about push pier in another post in detail and how it differs from helical pier. So, you should surely want to read that too. Push piers have the same use i.e. prevent your house from settling further. Anyhow, here’s a summary:
Helical piers are different from push piers in that they have helices (in the form of circular staircase) welded to the bottom of the galvanized pipe. These helices anchor the foundation to firm strata or some suitable load bearing formation below the ground. These helical piers prevent upward (heave) or downward (settlement) movement of your house by ensuring its firm locking in place.
Also Read: Push Piers vs. Helical Piers – Basics, Difference, Applications
Now we will dive into more details regarding the installation of helical piers. So keep bearing with us to enhance your knowledge on the topic.
Major Steps Involved in the Installation of Helical Piers
Following are steps for the installation of helical piers:
- Inspecting and diagnosing (exterior and interior) of a home for the signs and symptoms of foundation failures.
- Marking positions for helical piers, digging holes for pier every 6 feet, and preparing the footing for supporting brackets.
- Installing helical piers upto competent load-bearing soil.
Now we’ll explain above points in details below:
Thorough Inspection
The first step of every foundation repair project is inspection. It gives the contractor an overall idea of damage and associated works required to rectify the problem. A professional foundation repair company will first look for signs of foundation settlement in the structure.
A detailed analysis will look for such indications in both exterior and interior of your house. This helps him ascertain the level of damage that has already occurred. He may look for: cracks in walls (particular stair step or zig zag cracks), tilt of structure out of normal position, stick doors and windows, leaning chimneys, uneven floors, etc.
This inspection process yields two things:
- Floor elevation measurements
- To the scale CAD drawing of the house
A competent contractor will always provide you these drawings. The primary benefit of floor elevation measurements is that they can indicate if the settlement is uniform or differential.
- Differential settlement means a part or parts of your house have settled more or less than other parts of your house.
- This type of settlement can cause much more damage than uniform settlement. It is highly probable that you will mostly experience uniform settlement.
- However, it is advisable to keep a set of floor elevation measurements as a future reference point.
Be Cautious
What some contractors do is that they will not provide you the complete set of floor elevation measurements. They do so for deceiving the client into securing works for the whole house whereas you might only have part of your house with settlement issues.
Once the inspection is complete you will be have a rundown of the cost of the project. This is the point where you will see if the contractor has called for helical piers.
A major reason for using helical piers is that the weight of your house is not sufficient to push down push piers. As we discussed in the article on push piers that the house must be heavy enough to drive push piers into a competent load bearing strata. So probably you are living in a single story home or are looking to repair a small structure such as garage which necessitates the use of helical piers.
In the end, a contract for foundation repair is signed and both parties have to wait for permits from local authorities which usually take weeks depending on the state you are living in.
Helical Piers Preparation Work
A helical pier is a round or square pipe that is made of steel and is hydraulically driven into competent load bearing strata. It relies on torque action to move through the soil. A remedial bracket is used to anchor the pier to the footing to stabilize the structure.
We prefer helical piers for following types of house foundations:
Also Read: 5 Types of footing – Best footing – Images – Uses [PDF]
Basic Properties of Helical Piers
- Helical piers are available in square and circular shape. Both shapes have different uses. We have discussed this in our article on ‘Push Piers vs. Helical Piers‘.
- Steel used in piers is galvanized to prevent corrosion.
- These piers have a maximum carrying capacity of 72-74 kips. (72-74,000 pounds)
- Size varies from 3′, 5′, 7′ or 10′. These are also available in size of 20′.
- Main component are extensions, lead, and remedial bracket.
Usually driven down to depths of 25′ to 30′.
Helical piers are generally installed at intervals of 6′. Their locations are marked by painter’s tape. 3’x3′ excavations are done at marked locations. These excavations are usually 25-30″ deep to create access to the footing.
After the footing is exposed, the worker uses demo hammer to straighten out the footing. This is done to prepare the footing for remedial bracket. Remedial bracket has an L shape. This L shape ensures that the bracket completely fits the footing.
Generally you can use any of the two methods to secure the bracket to the footing:
Titen Screws
These are stainless steel screws as an attach components to concrete or masonry structures.
Wedge Anchors
Wedge anchors helps in attaching fixtures into concrete structures. These work by inserting them into a hole drilled into the footing. The concrete wedge anchor is than expanded, wedging itself securely into the concrete.
Installation
Helical piers are just like screws. They require torque action for driving into the ground. They connect the footing to a suitable load bearing strata through a torque motor. The torque motor provides necessary torque to screw the piers downward.
It goes along the torque bar to prevent the drive head from spinning on the helical pile. We attach the torque head with the drive head to maintain suitable distance. The reason for doing so is that if we don’t attach the torque bar it a stationary object, it may wipe out anything near it.
Lifting Process
After installation process is complete, next step is to lift/stabilize the structure. Generally, the aim is to lift the house to maximum practical recovery.
If you have read our previous articles, you are surely aware of this term. To give a brief idea, ‘maximum practical recovery is the uppermost value of lift that can be achieved to offset the downward movement due to settlement without imperiling the structural soundness of your house’.
Recovery
This lifting process is not applicable to all houses as it may endanger the structural and architectures integrity of your house. Anyhow, once you’ve got the helical piers, the foundation will not further sink or elevate. It’s for sure.
Final Inspection
In the end, we do a final analysis of the affected areas. You need to examine and note for any discrepancies. Apart from that, you can compare floor elevation measurements against the initial measurements. This ensures the rectification satisfies the requirements.